Computing in the Shadow of AI: Building a HomeServer - Part 1
Welcome to Computing in the shadow of AI, where I try re-purposing, upgrading, optimizing and fixing older hardware because I am too broke to afford the current hardware prices.
Hardware Introduction
This time we will set up this older Dell Optiplex 7060 SFF from 2018 as a homeserver:
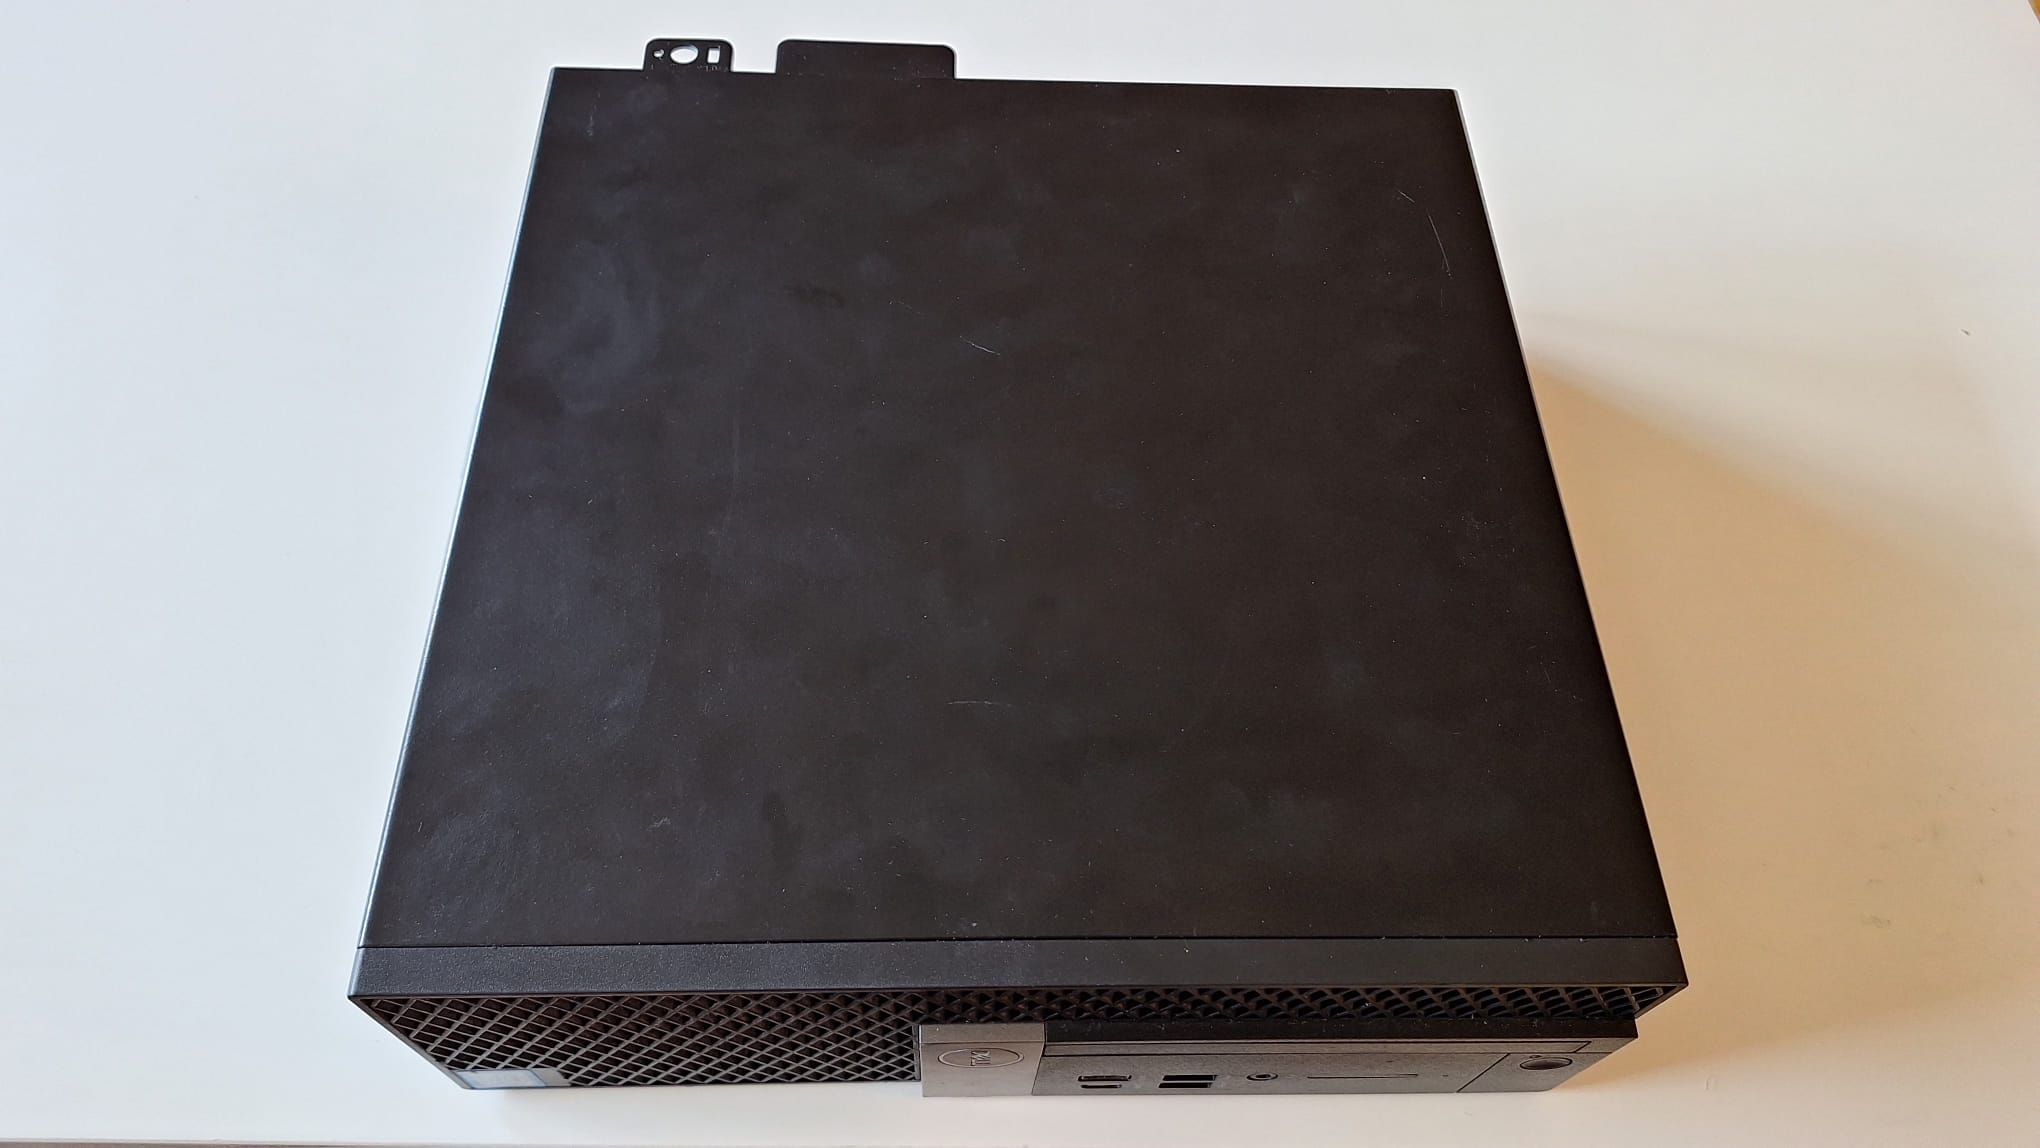
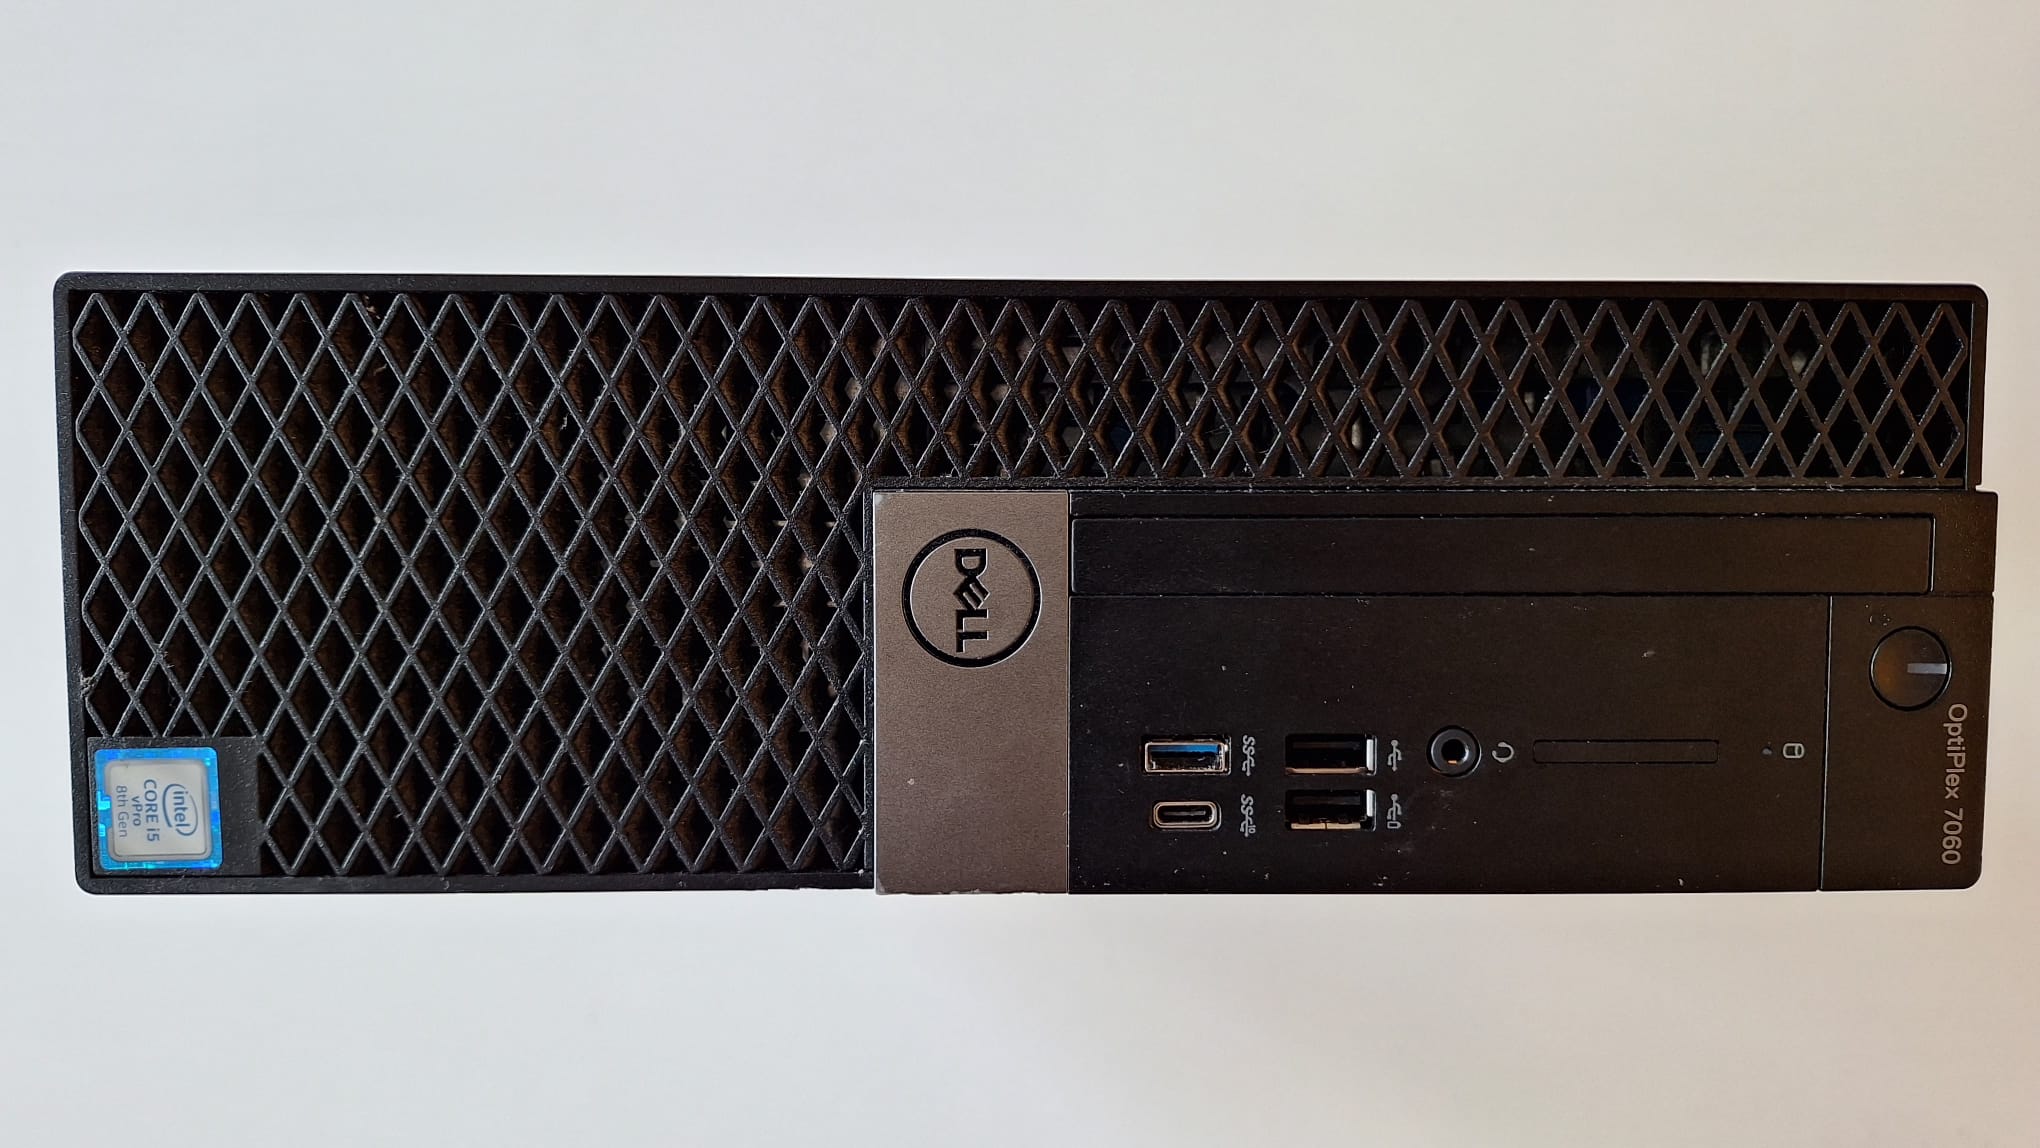
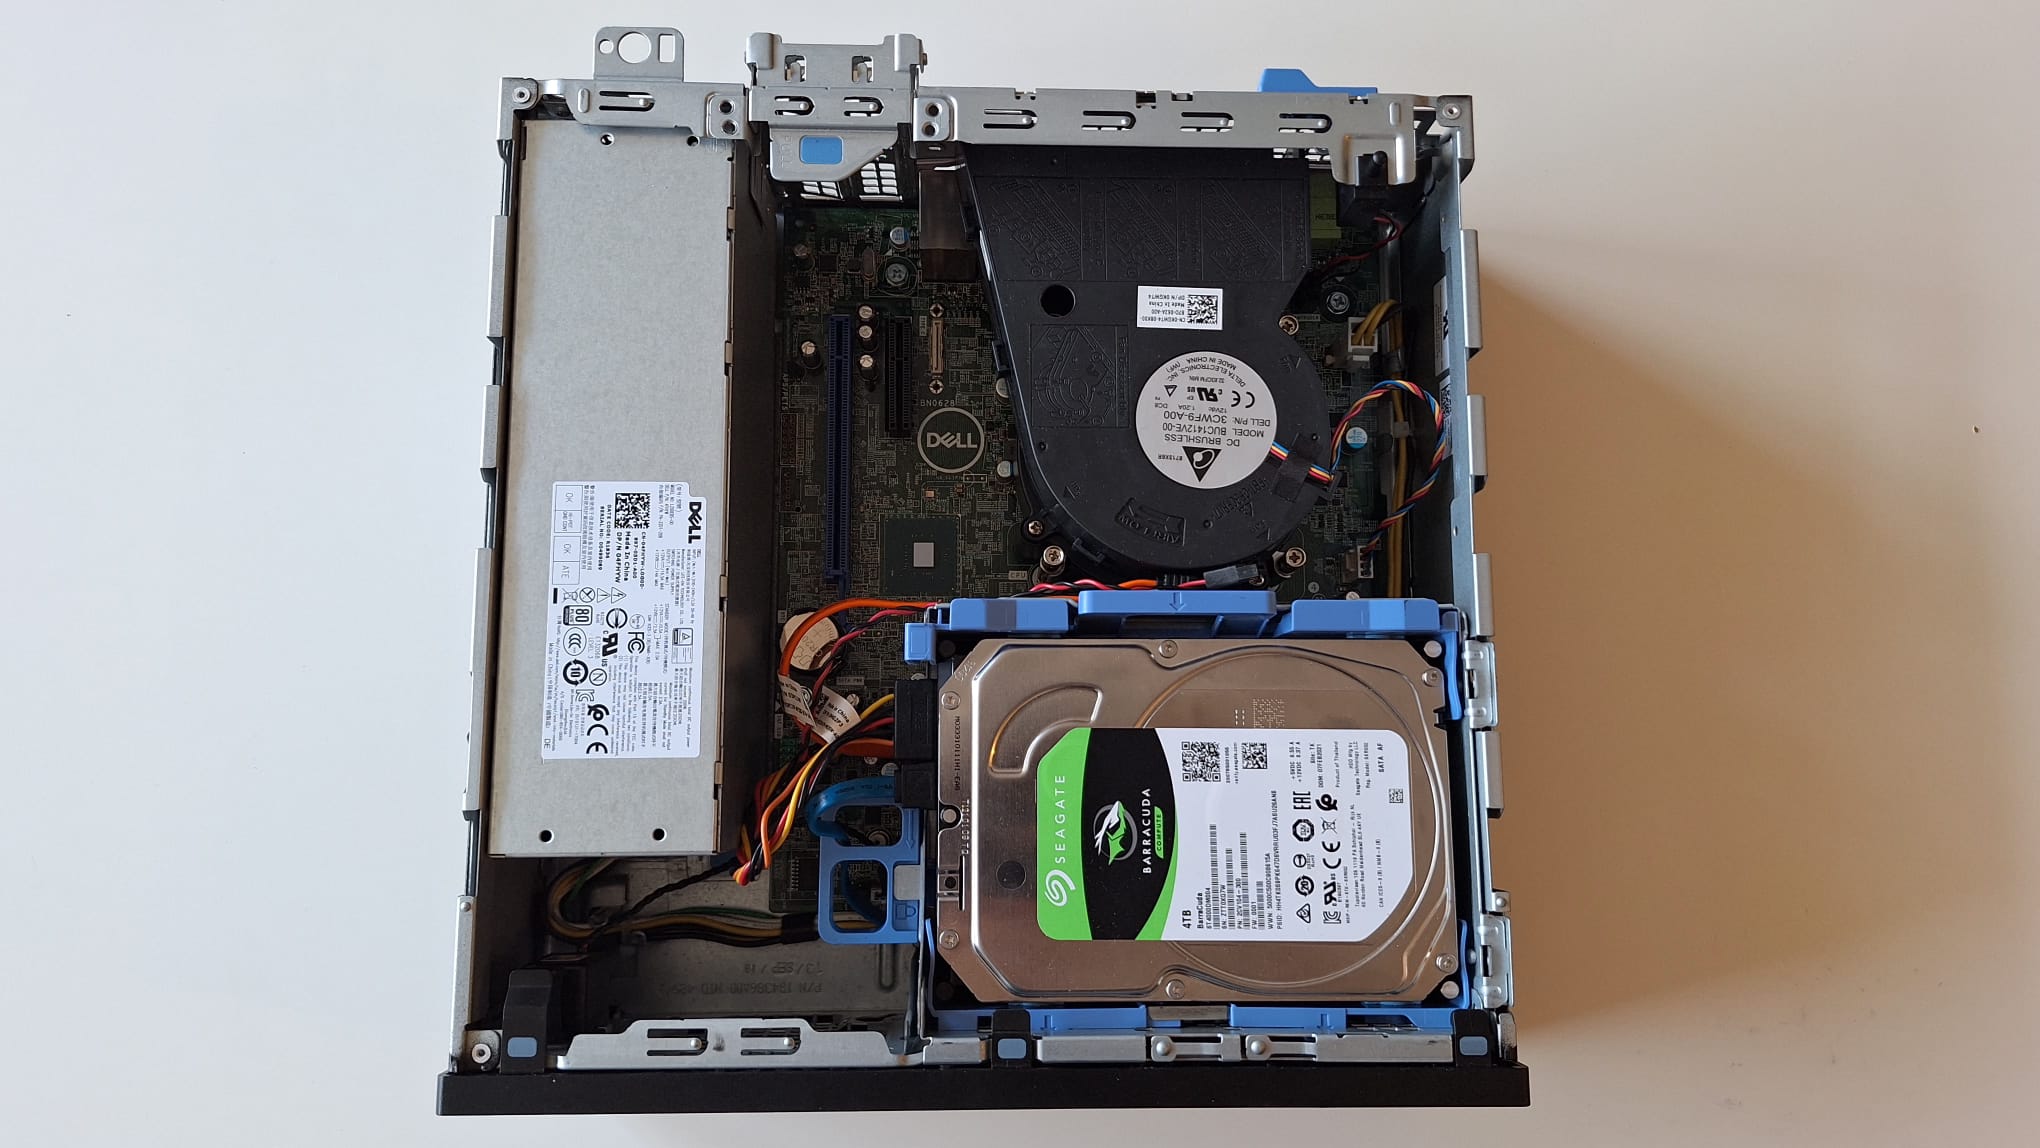
After some cleaning, upgrading and re-applying thermal paste (which I unfortunately do not have any photos of) we are left with a machine with the following specs
| CPU | Intel i5-8500 |
| RAM | 16 GB (2x8GB) DDR4 @ 2133 MHz |
| GPU | Intel UHD Graphics 630 |
| Storage | 256 GB SSD |
| 4TB HDD |
The Dell OptiPlex 7060 uses Intel’s Q370 business chipset, which strictly enforces Intel platform memory caps. On 8th-Gen non-K processors (like my i5-8500), memory speed is hard-locked to a maximum of 2666 MHz. Because Dell OEM motherboards do not support XMP memory profiles, my DDR4 3200 MHz sticks fall back to their default JEDEC baseline frequency of 2133 MHz. While this is not ideal, I will not be running very compute heavy services on my home server, so I have decided to just live with the reduced performance.
Apart from the RAM downside, these are some good starting points for a homeserver. The CPU also has Intel Quick Sync Video, which will significantly speed up video encoding and decoding for when I set up a MediaServer, making streaming content in my home network smoother (hopefully).
The 256 GB SSD will host the OS and the more intensive VM’s/Containers, while the 4 TB HDD will be the main storage for files and less intensive containers.
Proxmox installation
I chose Proxmox as my virtualization platform of choice. It is very popular and as such has tons of guides and resources to look to when something inevitably goes awry.
The installation was very straight forward and came with a graphical installer.
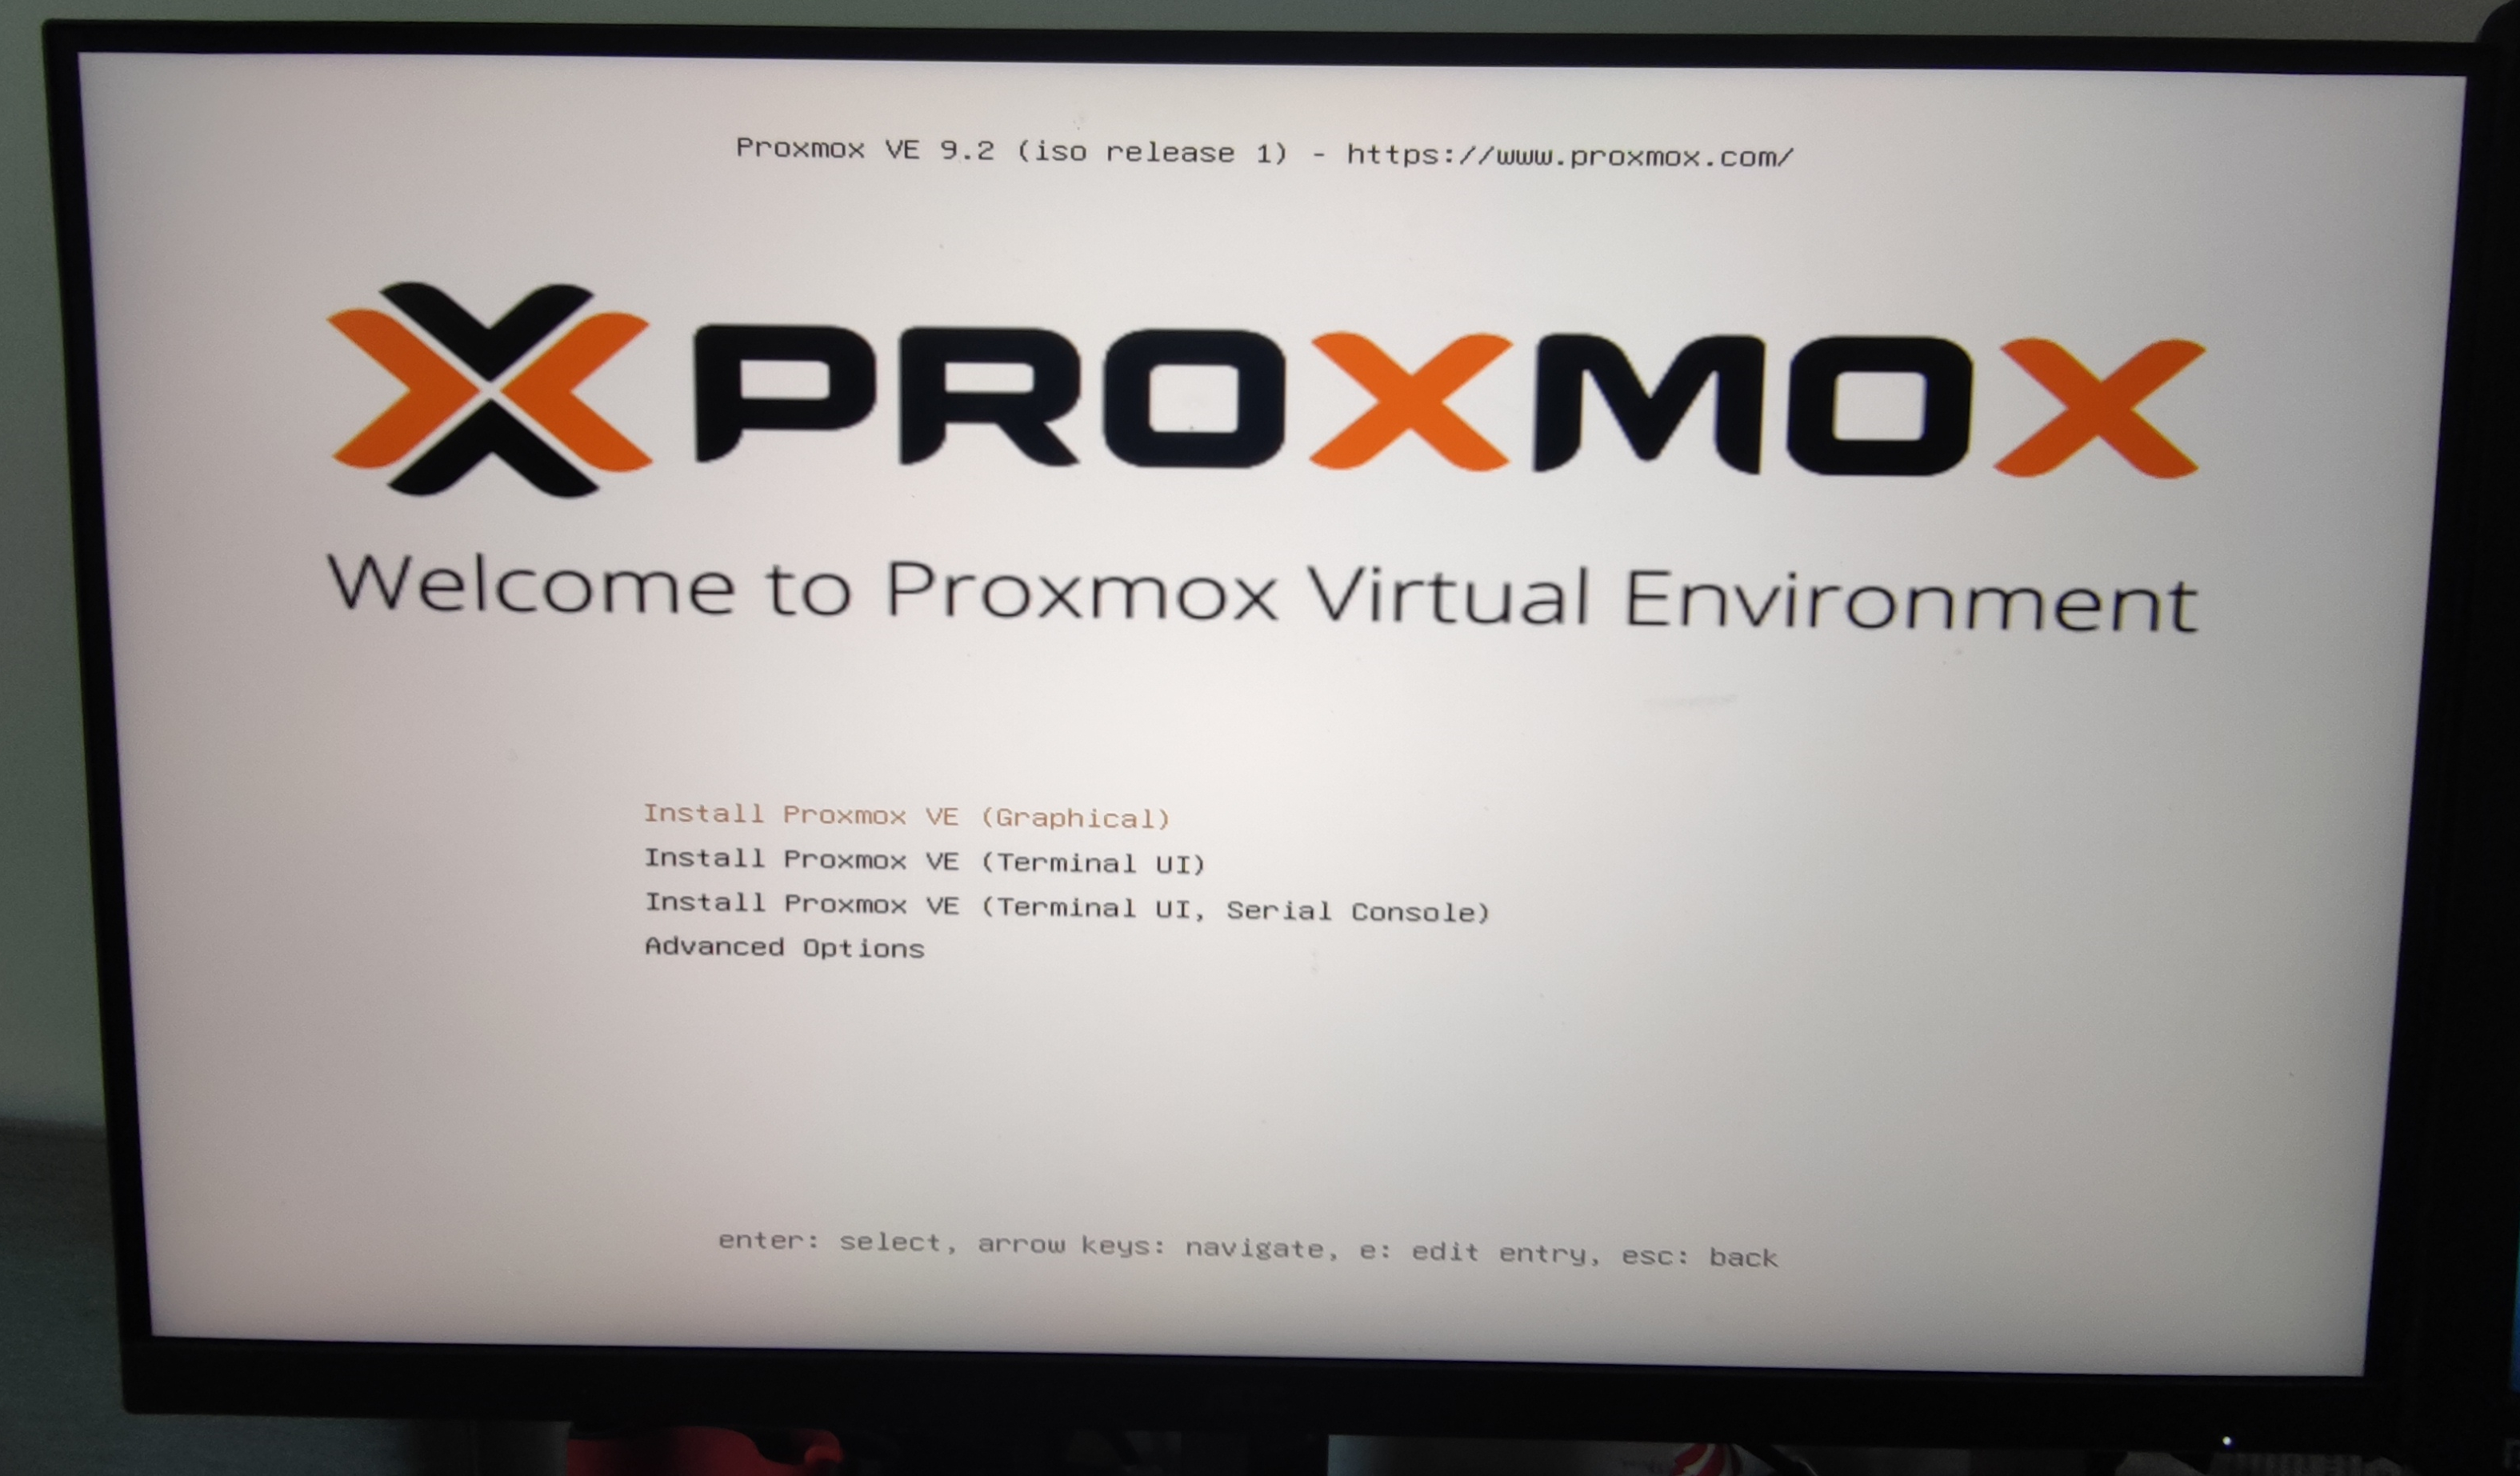
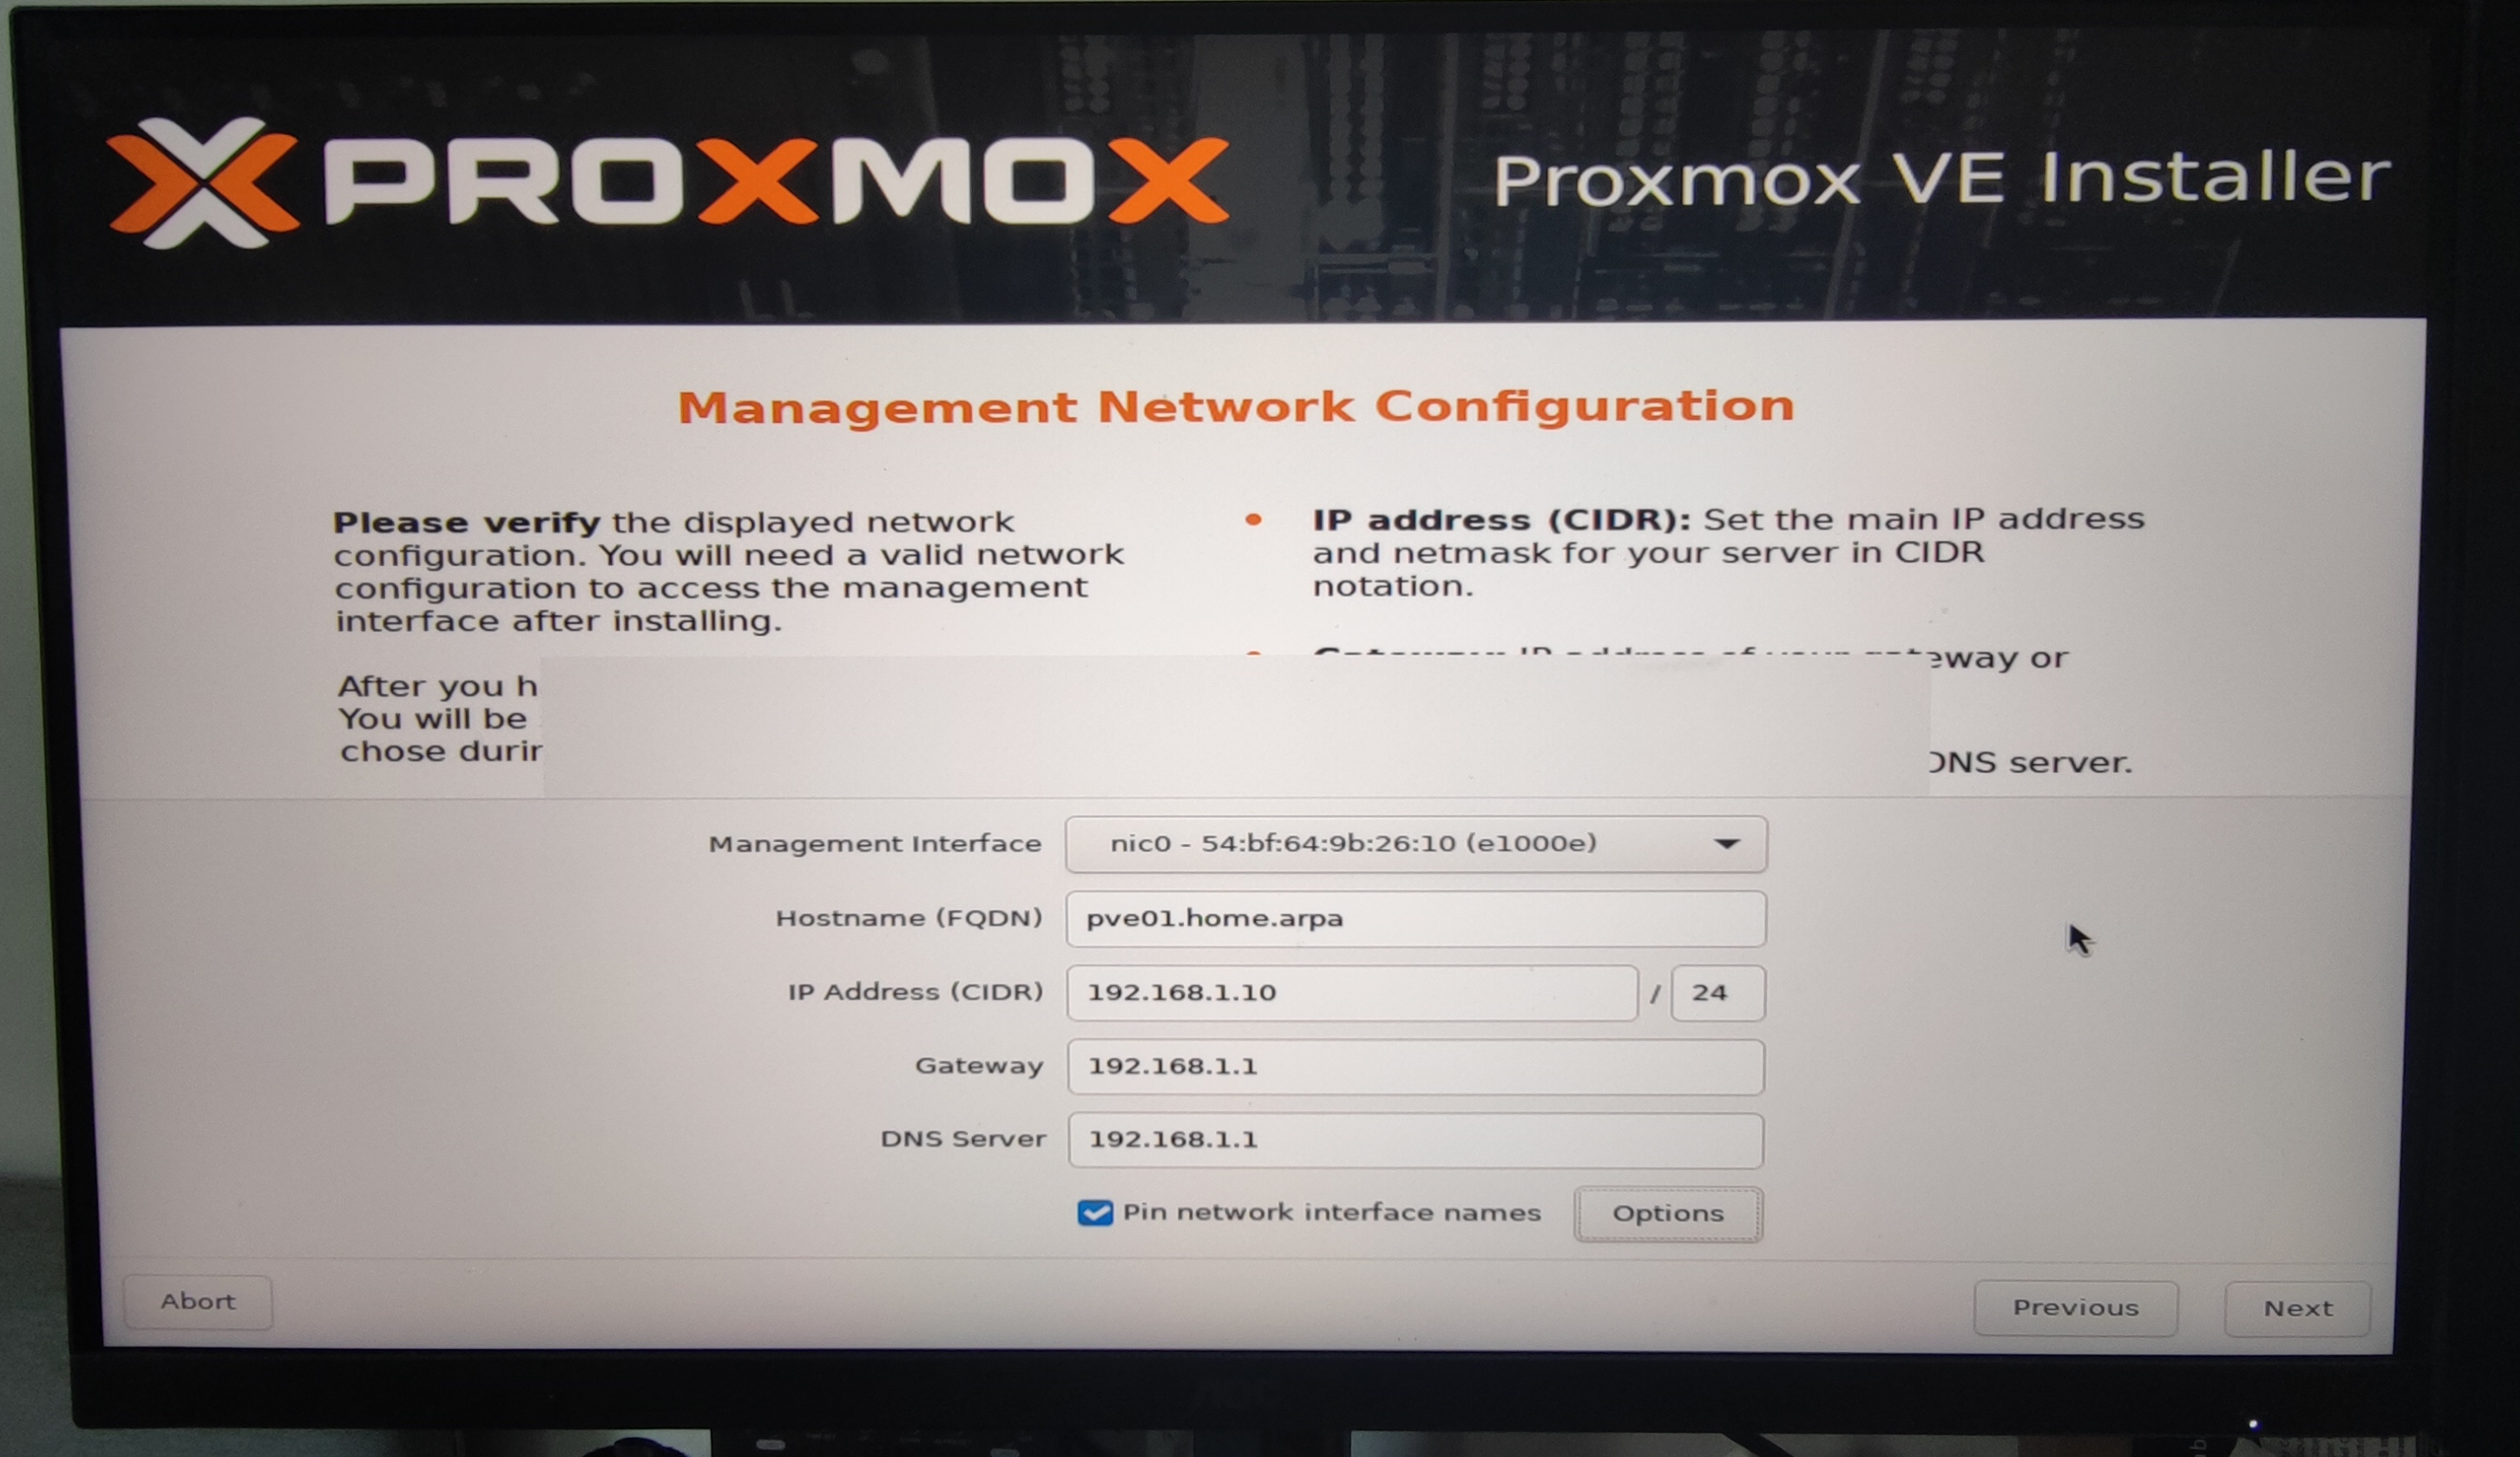
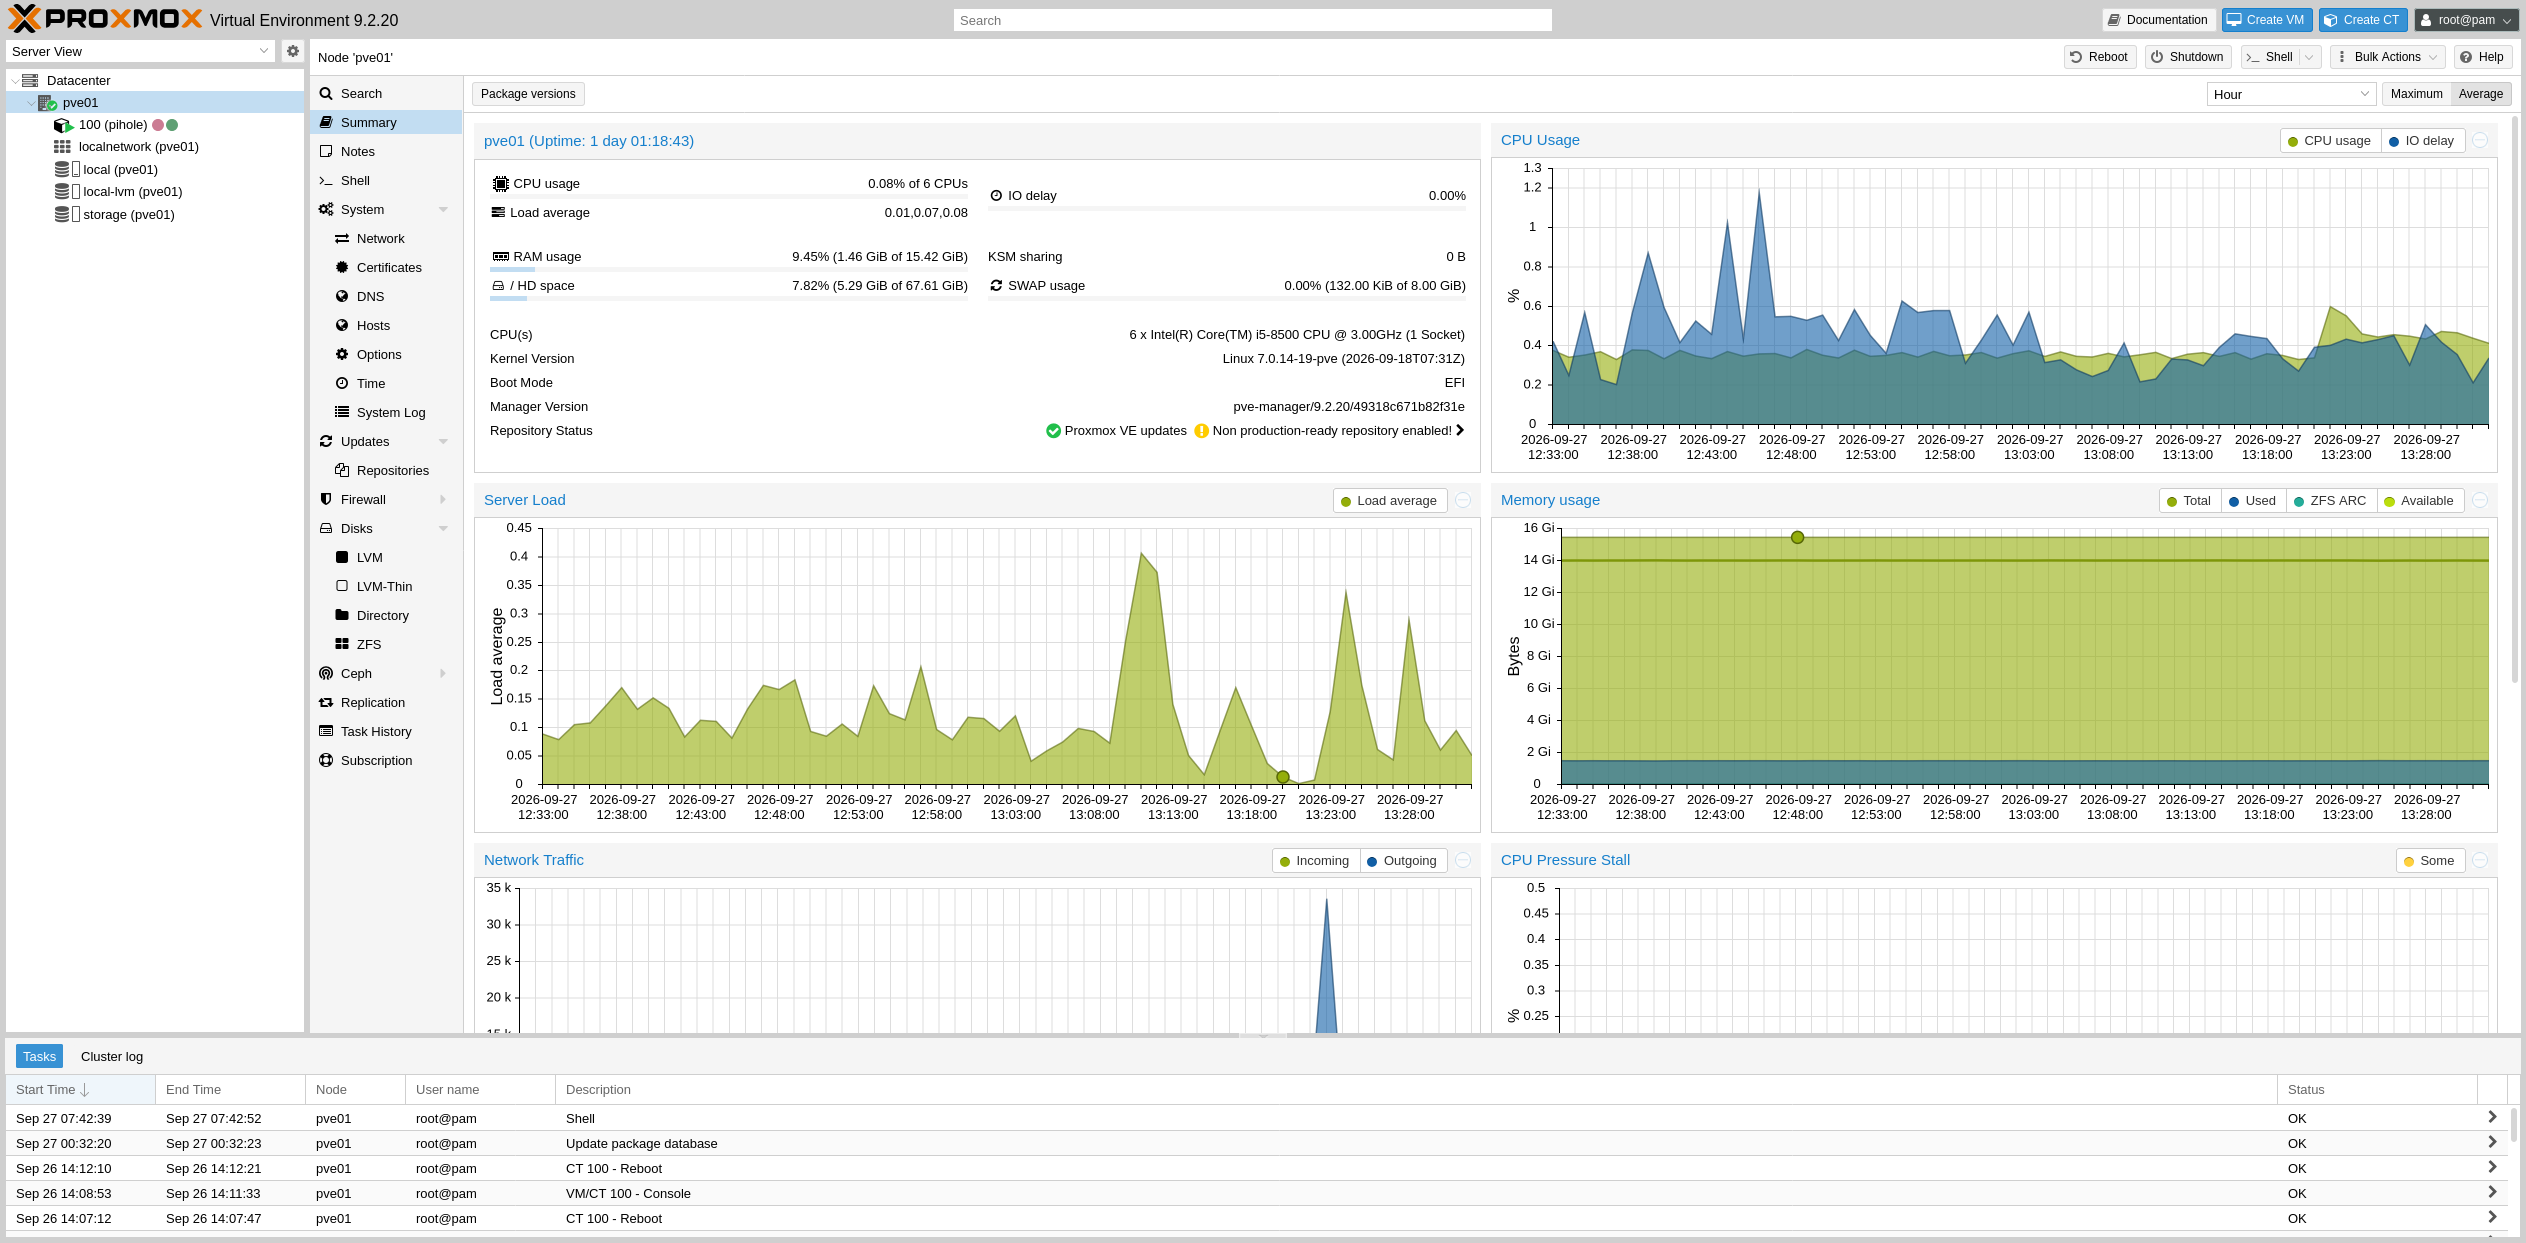
After going through the installer and reserving the chosen IP address in my router, I was able to access the Web Admin Interface with no issues.
Before we continue I want to introduce the website community-scripts.org. This is a collection of community created and maintained scripts to perform common operations on your Proxmox server. These range from setting up VM’s with different Linux Distros and setting up containers for different services to maintenance task and backup configurations.
Be aware of malware: Always check the installation source code of the community scripts to make sure you are not executing anything unwanted on your server!
After reading through the script and verifying it contains no malware or similar, I chose to run the PVE Post Install script. This script does a variety of post install tasks for you with a neat TUI. This includes:
- Disabling or deleting the enterprise repositories
- Adding the pve-no-subscription repositories
- Updating your system
- Disabling unnecessary processes (for example I do not plan to have a proxmox cluster (yet)) to gain performance
- And more
After letting it run and do it’s thing I now have a fully configured Proxmox Virtual Environment running on my home server that is ready to be used.
Pi-hole Installation
The last thing I want to cover in this post is my setup of Pi-hole. Pi-hole is a popular DNS blocking application that checks incoming traffic into your network and compares it to your defined blacklists. It is amazing to block ads and protect against some forms of malware in your network. It also has a very satisfying web interface with lots of juicy data and graphs.
By this point I spent the majority of my Saturday on this project and I wanted a quick win before I was satisfied to leave it in this state for. So I once again turned to community-scripts.org and used it to setup Pi-hole. The script set up a LXC container for me, which is amazing because containers are more lightweight compared to full blown VM’s. After all was said and done I assigned the container a static IP within my router and updated the container’s virtual network interface to correspond to the same IP (The setting is under Datacenter > YourNode > pihole > Network). Then I set the Pi-holes IP address as the primary DNS server for my router and voila: I now had network wide ad blocking.
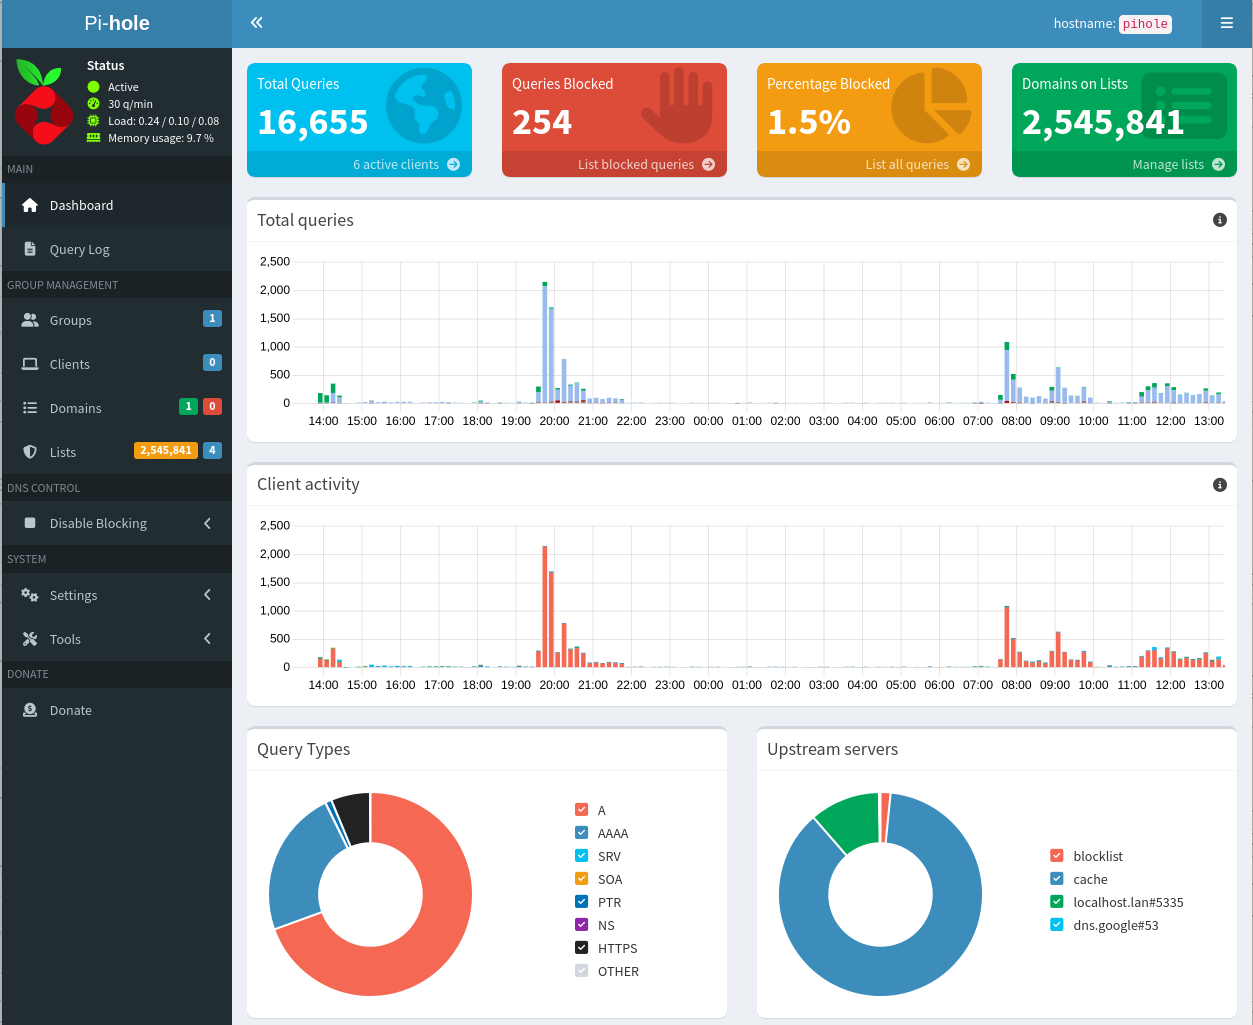
Quick tip: Add more blocklists to your pi-hole, as you start with only the default one. What you choose is up to your preference, so ask Google or your favourite LLM for some suggestions. Personally I chose 1 additional ad blocklist and 2 malware blocklists. Add them under the Lists menu and afterwards to go Tools > Gravity to pull the contents onto your pi-hole instance. Remember to set the Gateway of your static IP4 Address to your router!
Conclusion and next steps
It was not as difficult as I expected to set up a virtualization ready home server and start installing services onto it. As I mentioned in the beginning the community is quite big, so there are plenty of guides and videos that I could follow.
The next project I want to realize on this server is to set up a Jellyfin container and stream a movie from it to my TV. Stay tuned!