Computing in the Shadow of AI: HomeServer - Part 2 - Jellyfin Media Server
Welcome to Computing in the shadow of AI, where I try re-purposing, upgrading, optimizing and fixing older hardware because I am too broke to afford the current hardware prices.
The Plan
Today I want to install Jellyfin on my homeserver. Jellyfin is a free and open source media server that organizes, manages and streams digital media files to devices within my network. It also has a bunch of great client apps for client devices like smartphones, tablets, smart TVs and the web browser.
Here is a quick snapshot of where we left off last time: 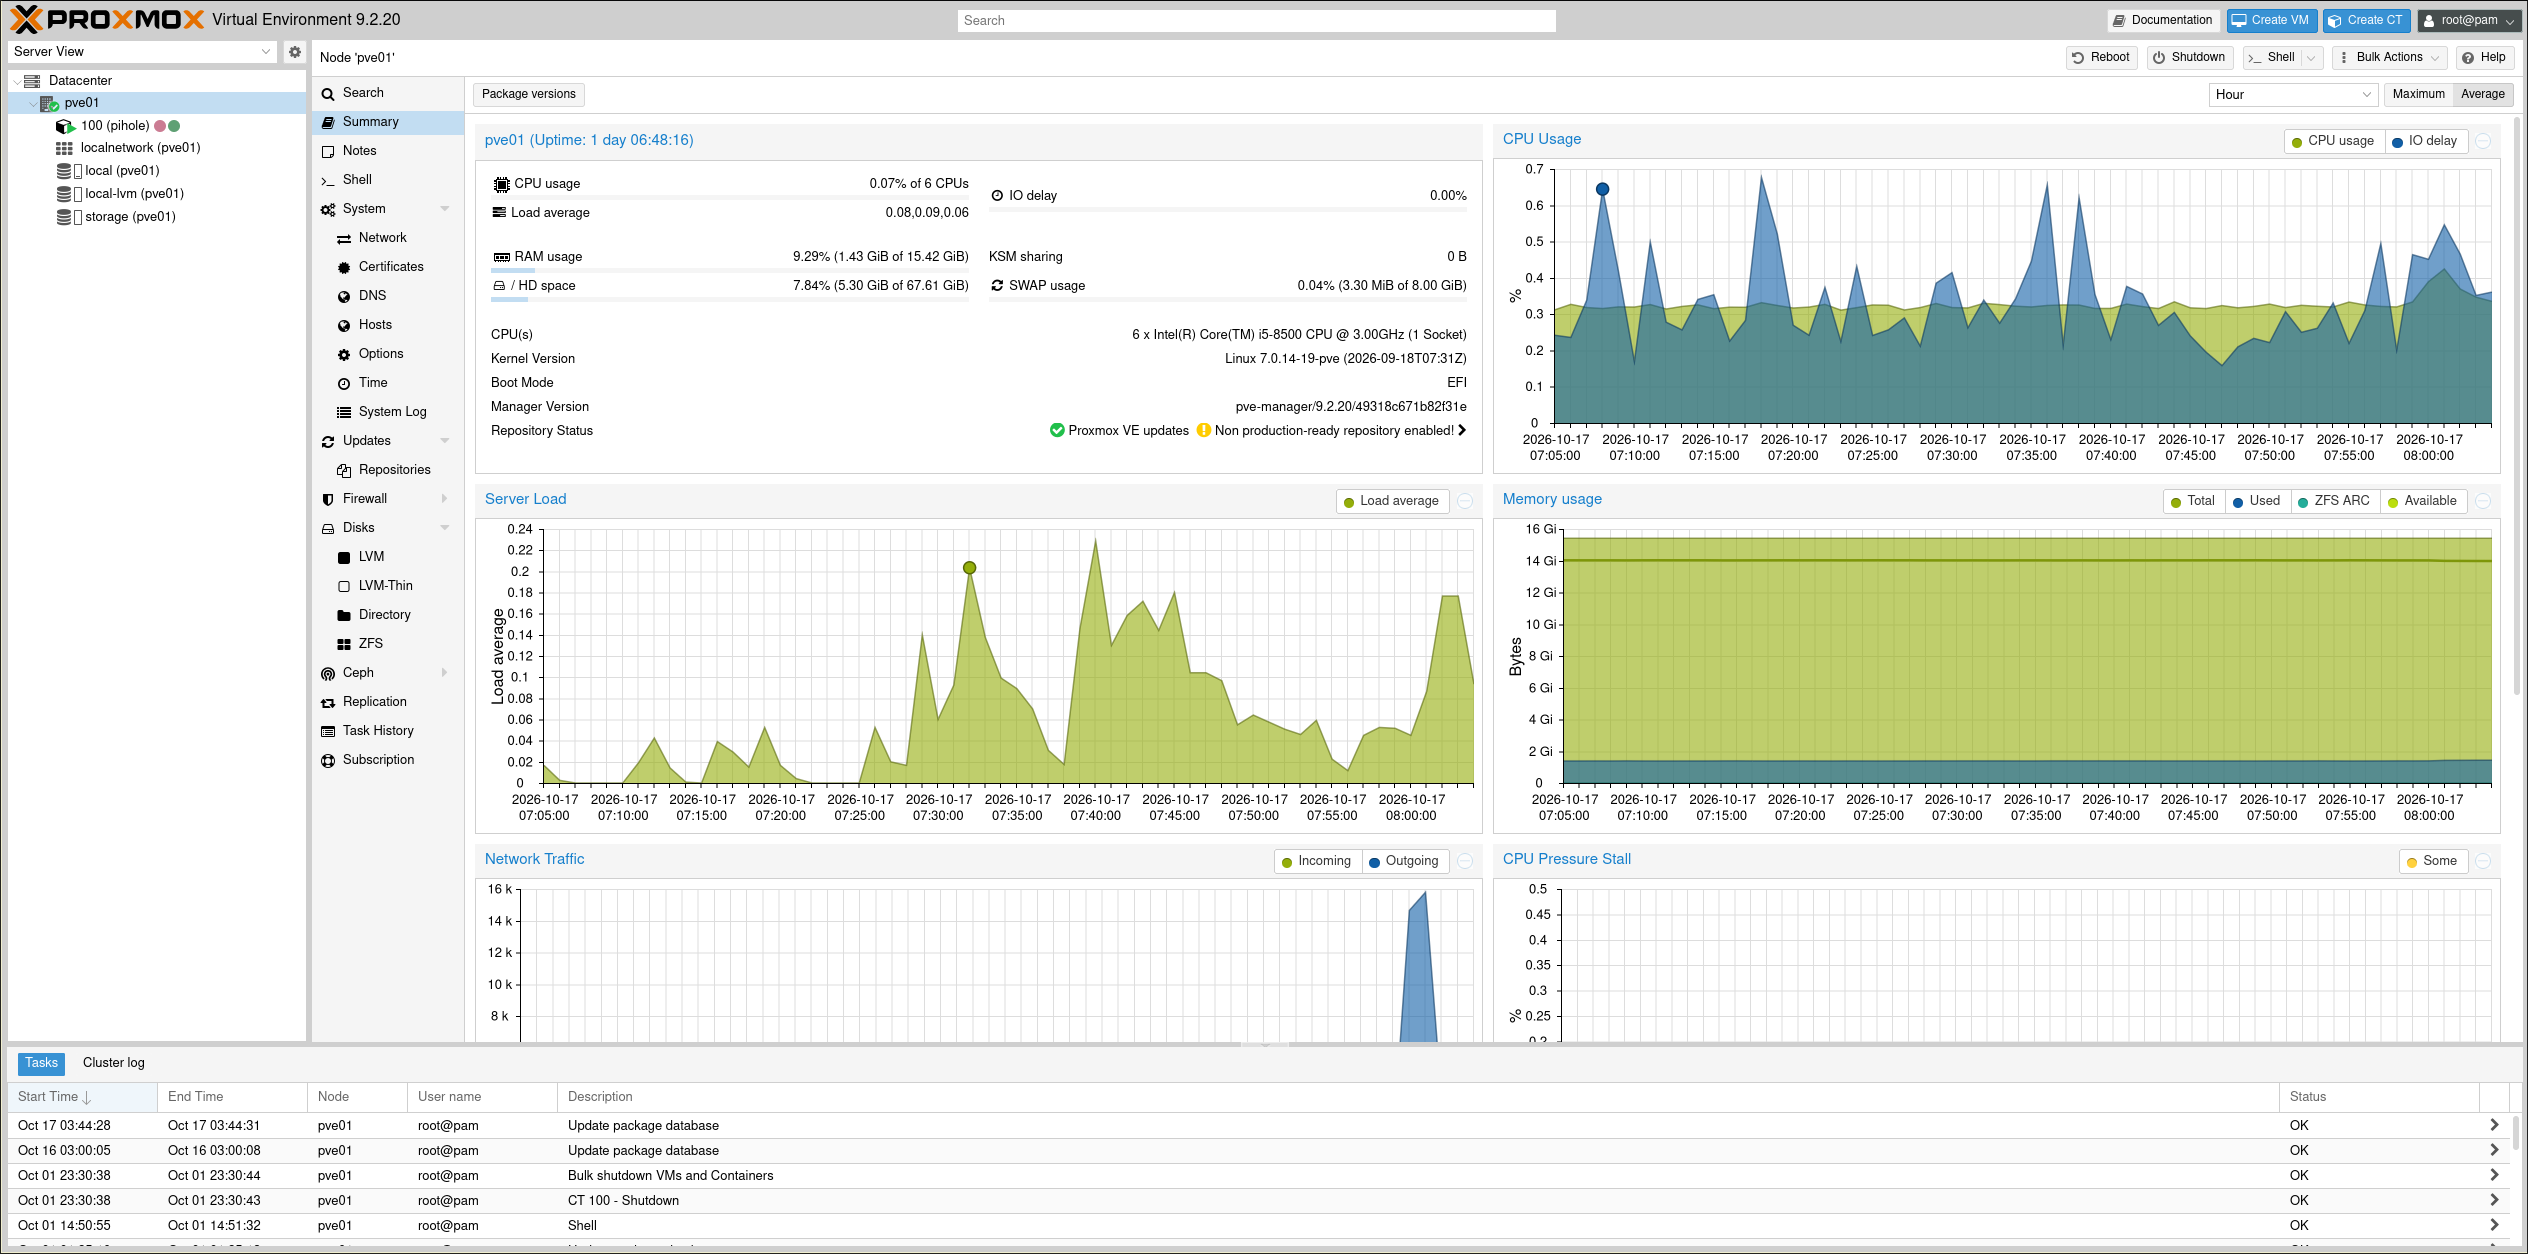
These are the steps I will follow to setup Jellyfin:
- Set up an LXC Container with Debian
- Passthrough iGPU and storage location
- Install & Configure Jellyfin
- Upload some files
- Test it by watching some media on my TV
LXC container creation
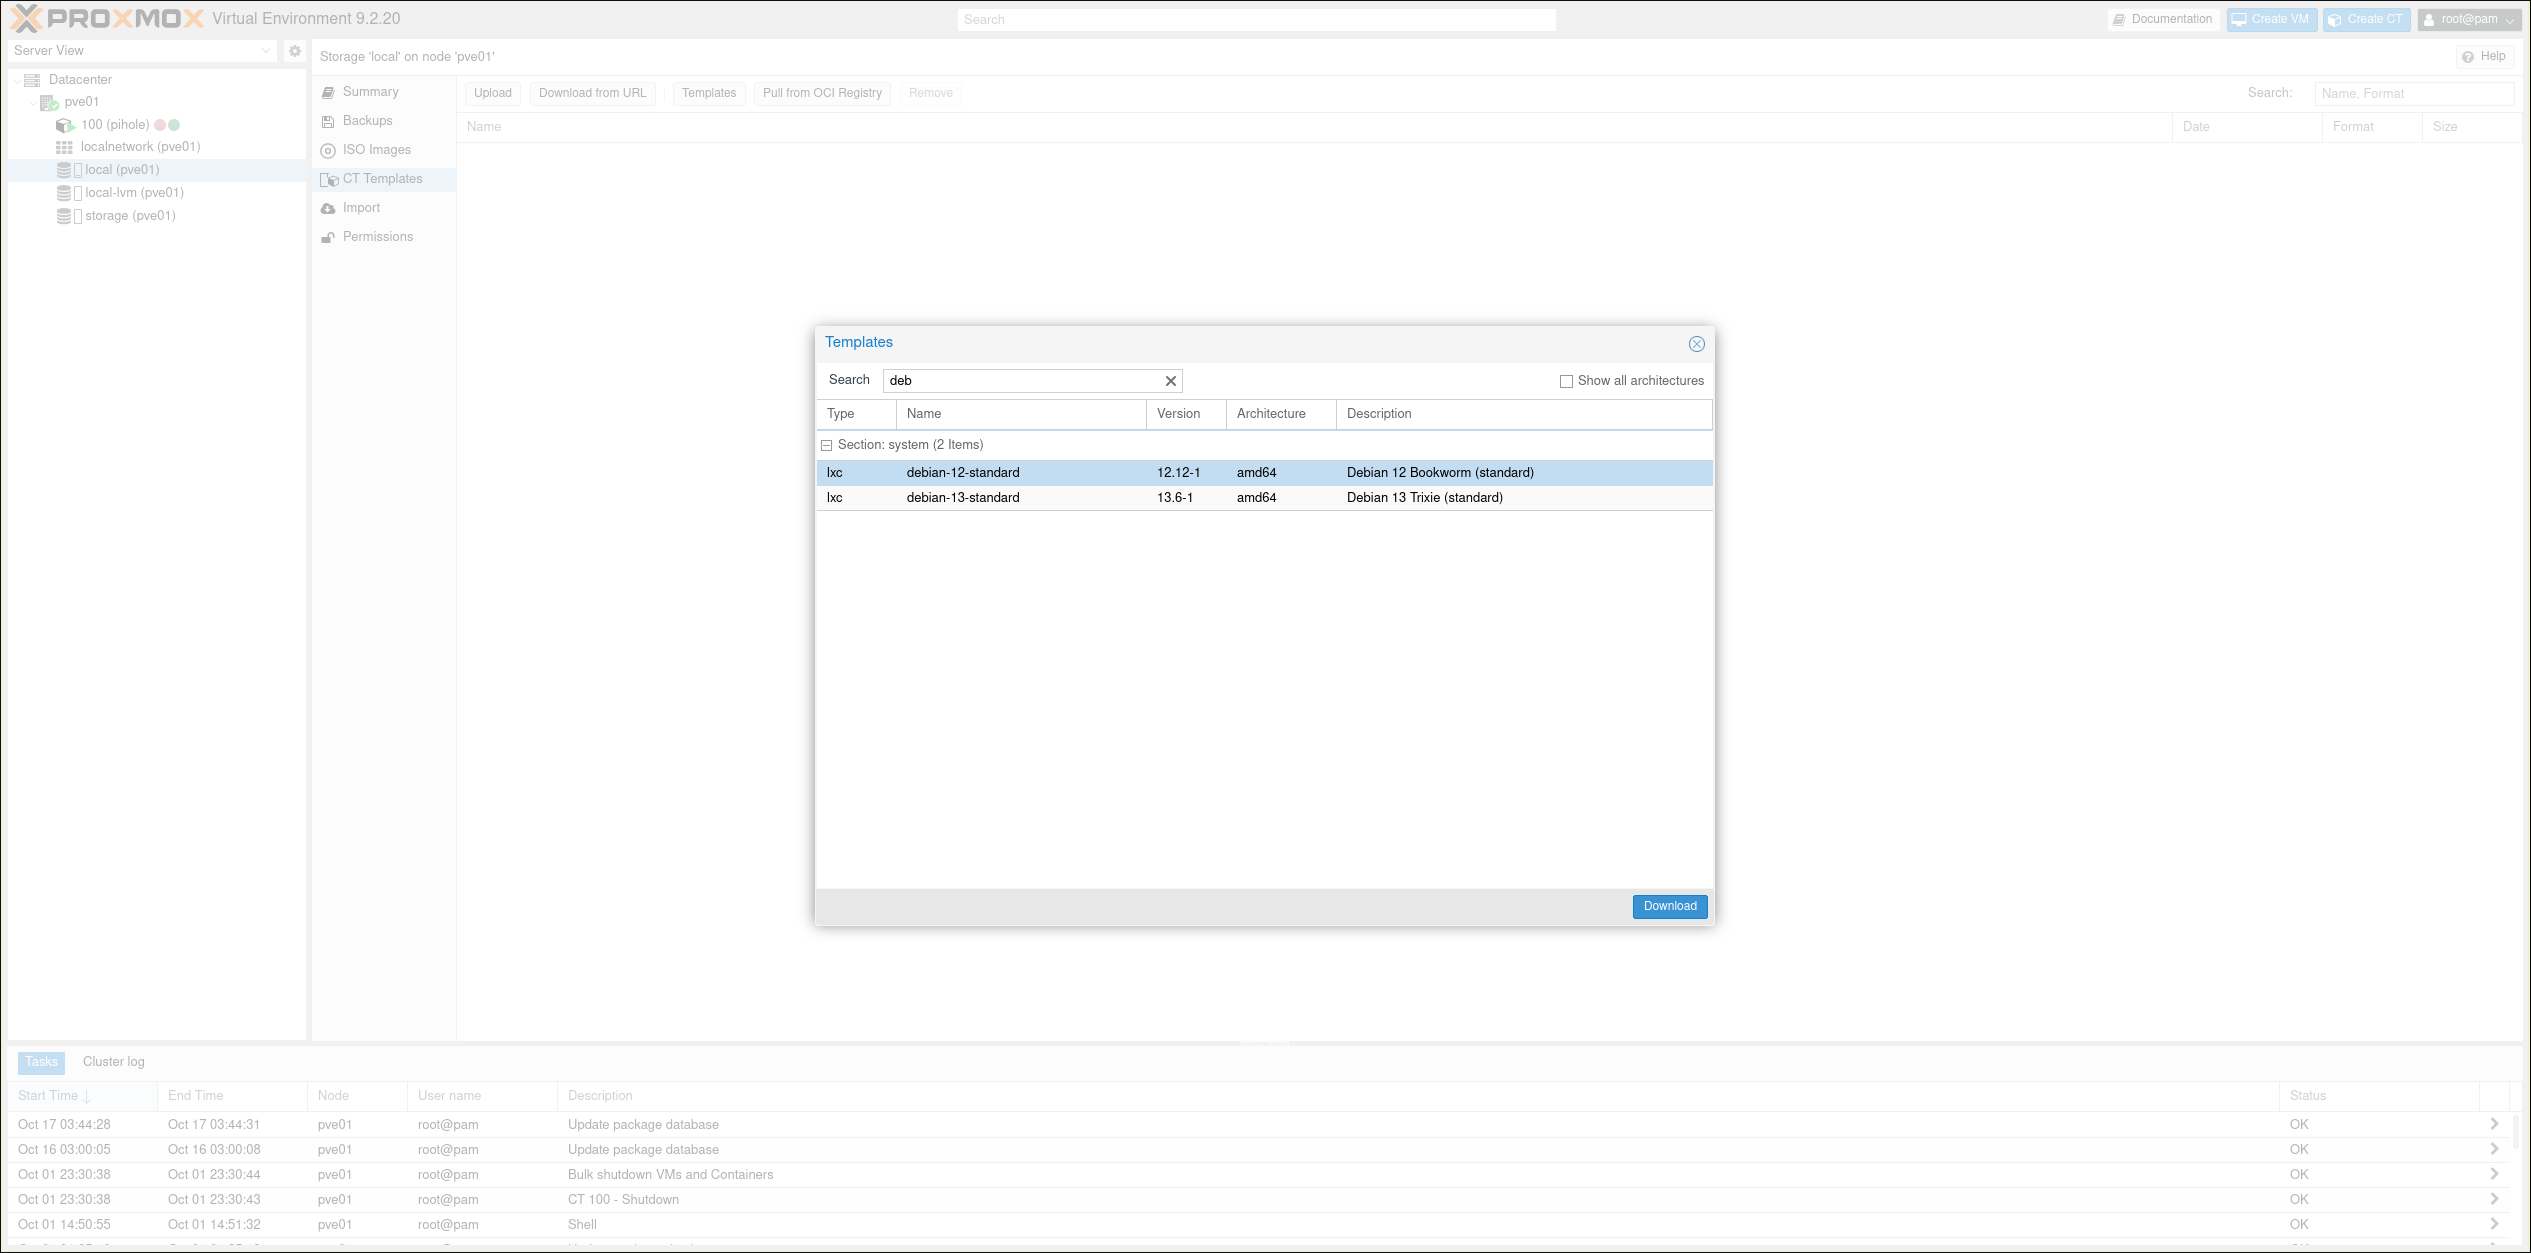
The first step is to create the LXC container in which Jellyfin will be running. The first thing is to download the Debian container template. To do this click on one of your Storages, navigate to CT Templates and click on Templates. Then just search for the desired OS template and click download:
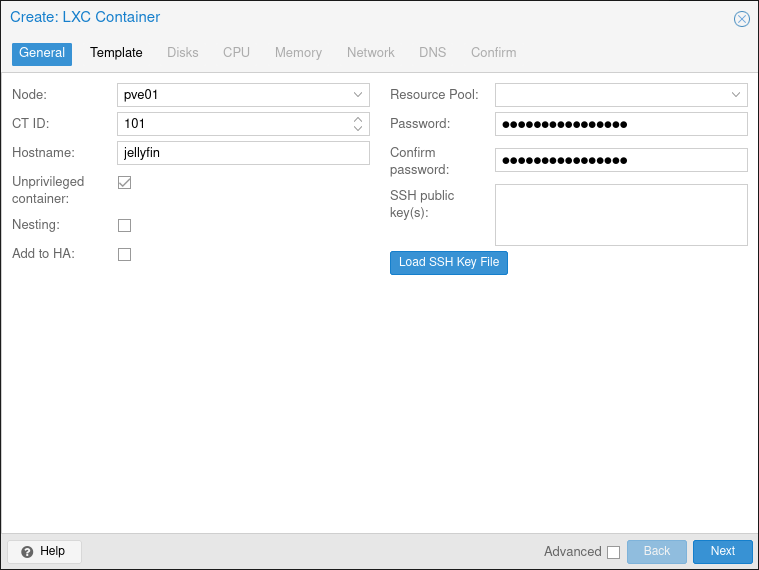
Once we have that we can start creating the container. Right click on the Node the container should be created on and select Create CT. A screen will appear where you can configure some general stuff about the container, such as the hostname and a root password:
(I turned Nesting off, because from what I can tell you only need it when trying to run Docker or similar in the container. As I am not planning to do that I can disable it for a small optimization)
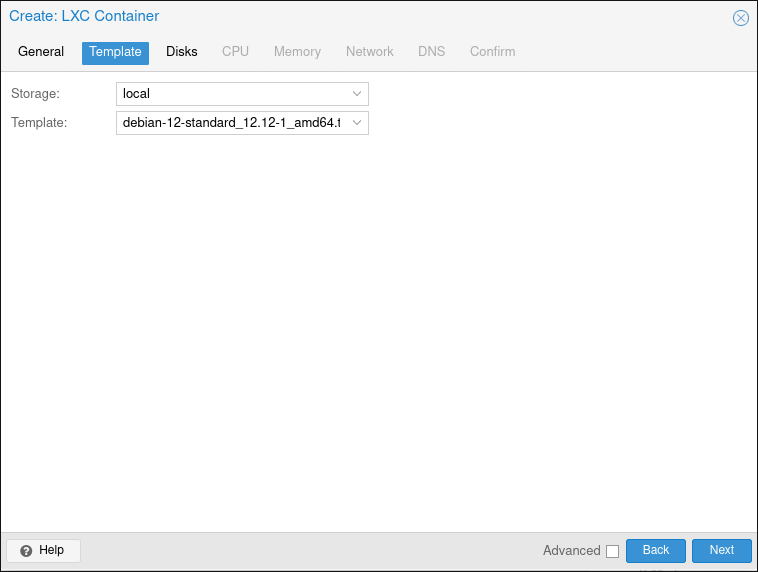
Then select the OS Template that got downloaded in the beginning:
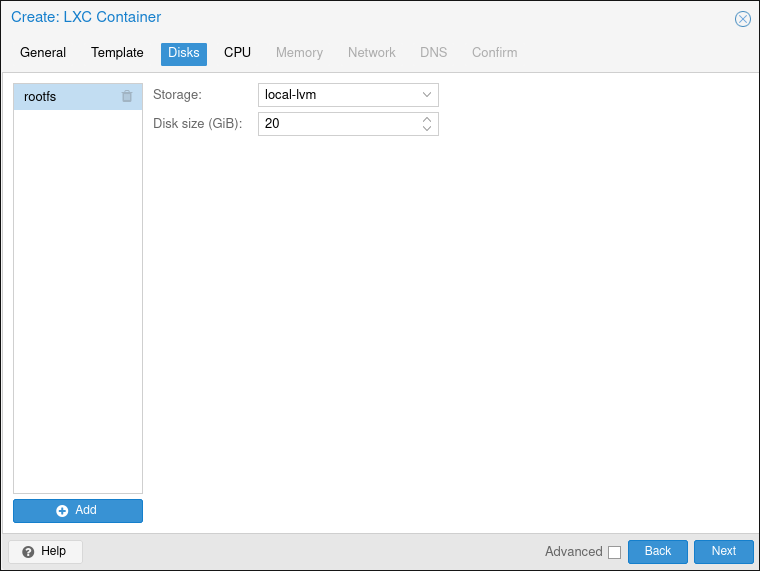
Next allocate some disk space for the container on one of the storages. I chose to give it 20GB as this is only for the Jellyfin installation itself. The actual media files will be stored somewhere else:
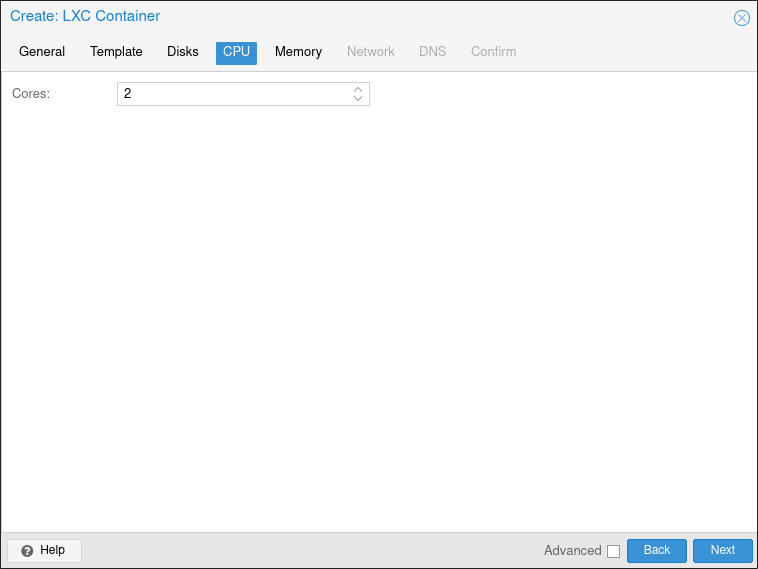
Assign it some CPU cores. 2 should be enough here, since the iGPU will also do some heavy lifting:
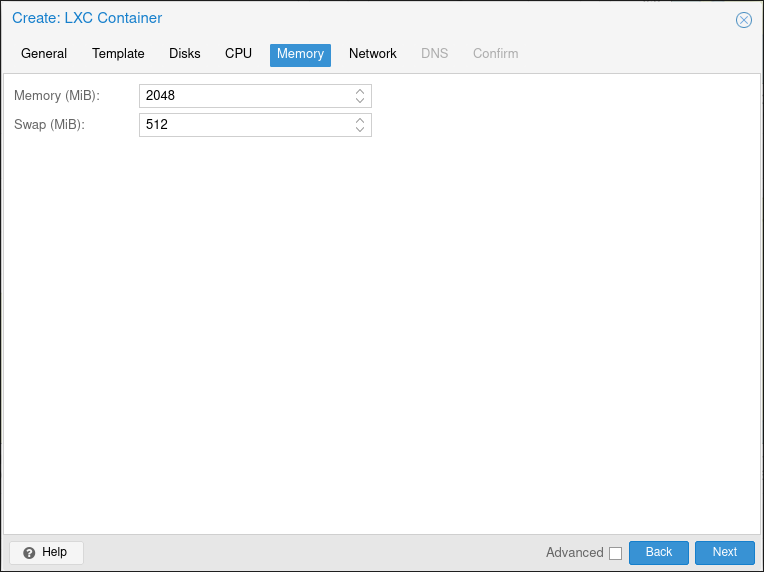
And some memory, I chose 2GB:
Setting up the network: After finishing the container setup, I chose an IP for the container and reserved it within my router’s DHCP with the MAC address of the virtual network switch (The MAC address is in the Network tab of the container). In this step I set the IPv4 and IPv6 addresses to static and left them empty. If they are left on DHCP they will conflict with my address binding and I won’t be able to reach the container via my chosen IP:
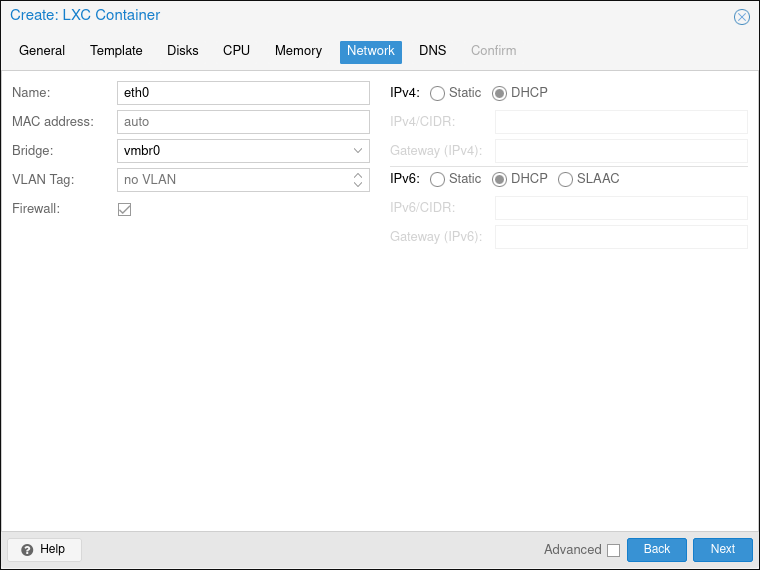
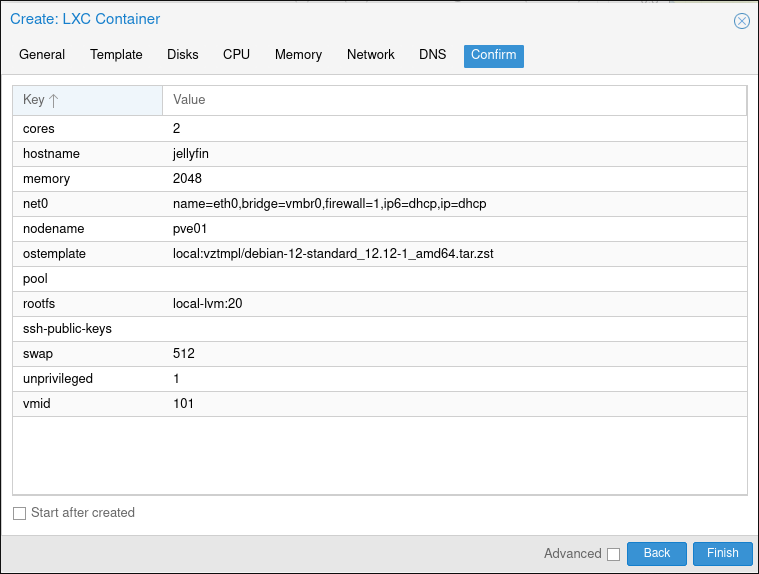
I skipped over the DNS section, since I used all default options. Then review your choices and hit finish. Proxmox will then create your LXC container:
iGPU driver installation
I want to use the iGPU of my system with Jellyfin to use video acceleration. This will result in massive CPU performance savings, since en/decoding will now be done by the GPU instead. Before I can passthrough the iGPU I have to first install the drivers for it on my Proxmox host.
To be able to install the necessary proprietary intel drivers, I had do add the contrib, non-free and non-free-firmware repositories. To do that I had to add the following to my /etc/apt/sources.list file:
deb http://deb.debian.org/debian bookworm main contrib non-free non-free-firmware
deb http://deb.debian.org/debian bookworm-updates main contrib non-free non-free-firmware
deb http://security.debian.org/debian-security bookworm-security main contrib non-free non-free-firmware
And then run update to update my package list in apt:
apt update
Now I could install the required drivers, firmware and info utility:
apt install -y intel-media-va-driver-non-free vainfo intel-gpu-tools
Before continuing I used the vainfo (Video Acceleration info utility) command to check that the VA-API is communicating with my iGPU correctly: 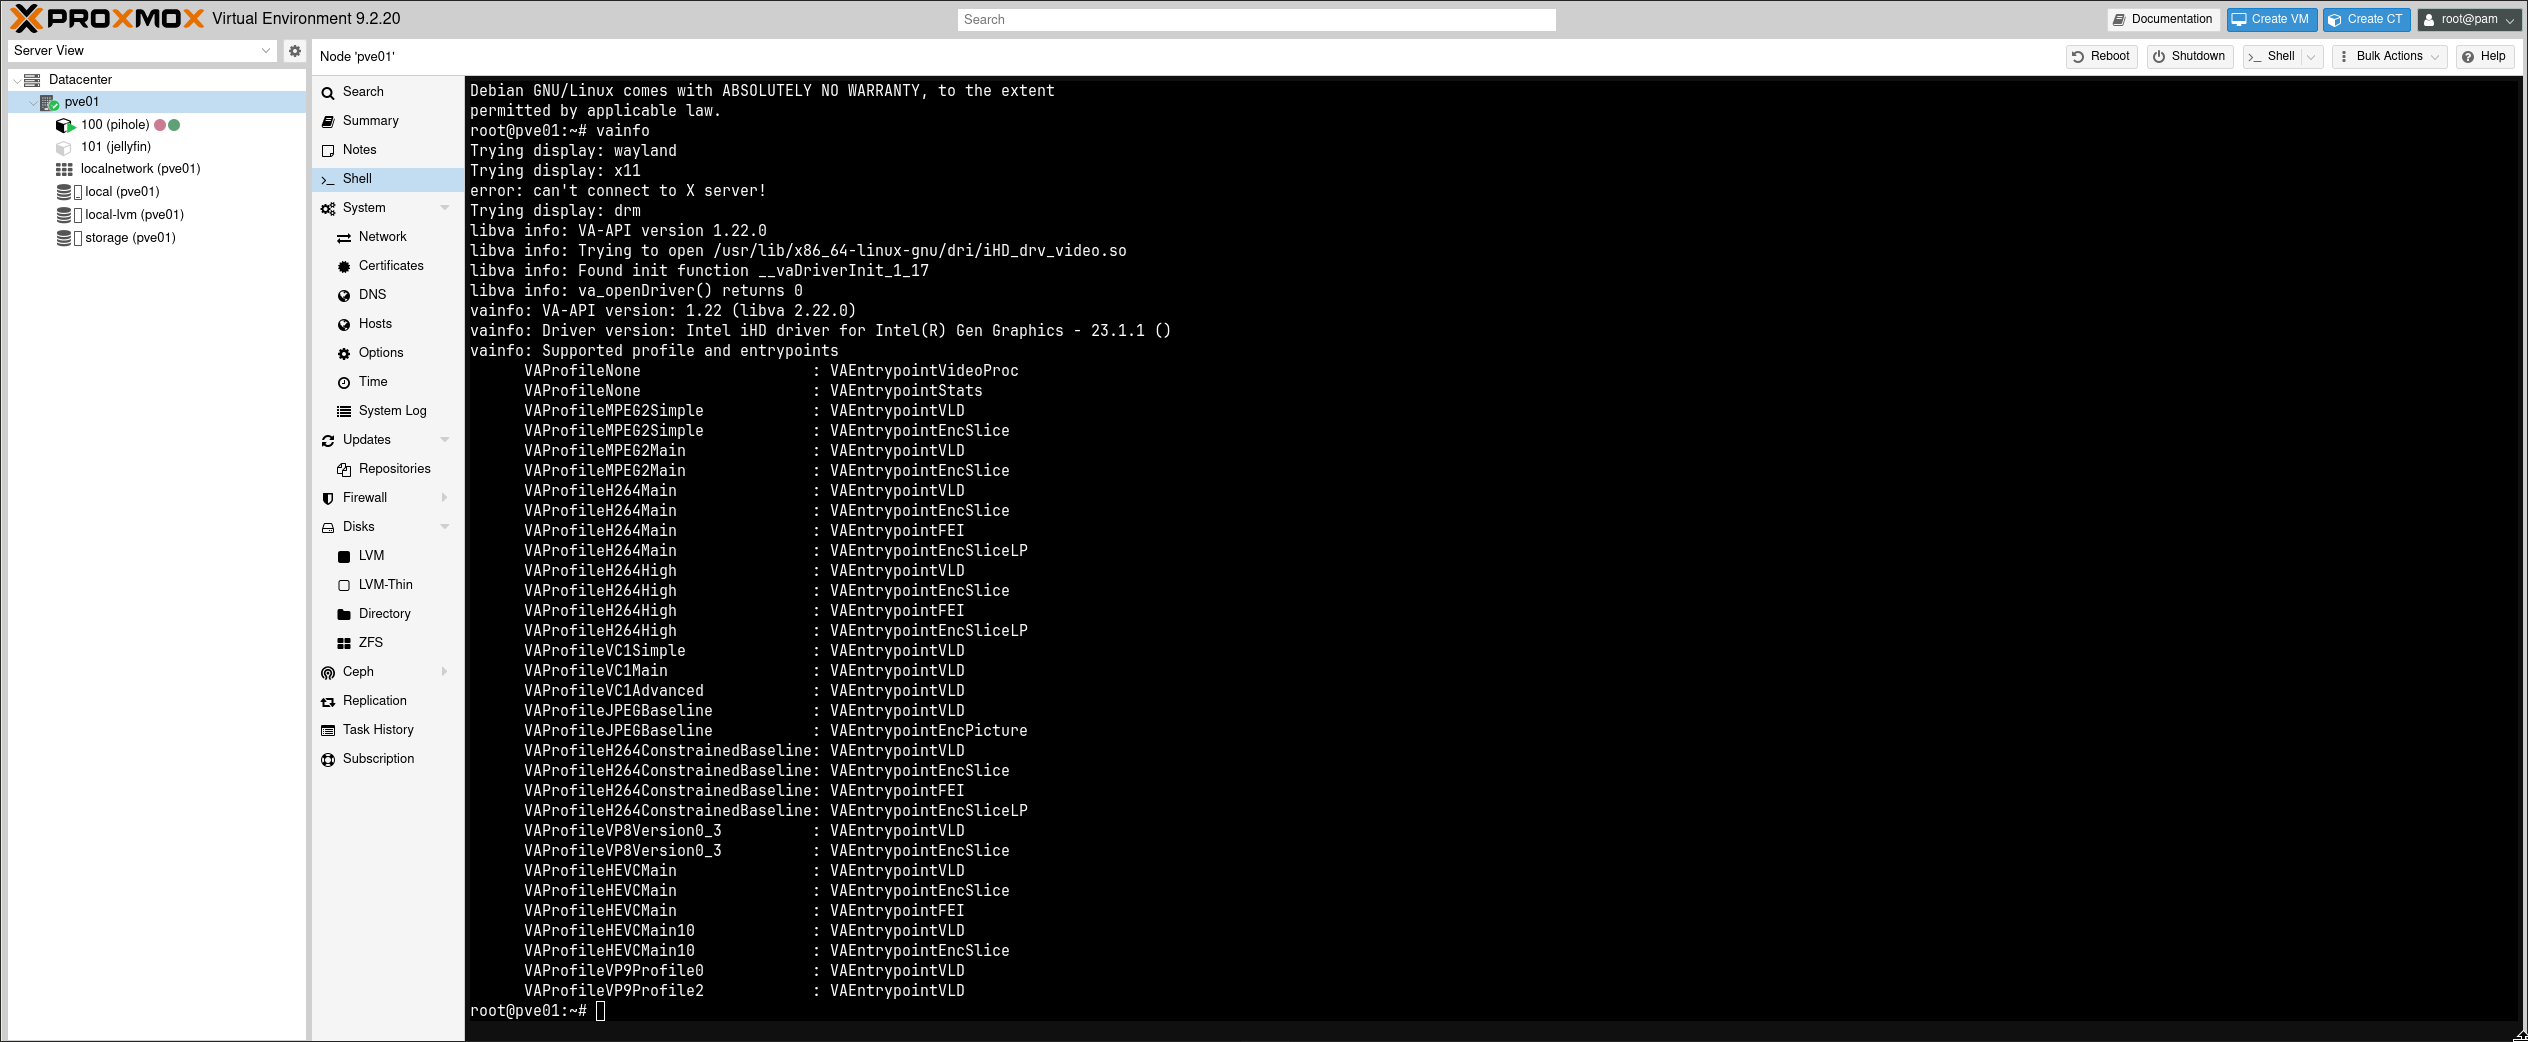
Now that I could verify that it works, lets pass it through to the container.
iGPU and storage pass through
Passing through any device is extremely convenient on my Proxmox version. I simply have to got to my container and then to the resources menu. From there simply click Add > Device Passthrough
I passed both the /dev/dri/renderD128 and /dev/dri/card0 with the GID (Group ID) of my render usergroup: 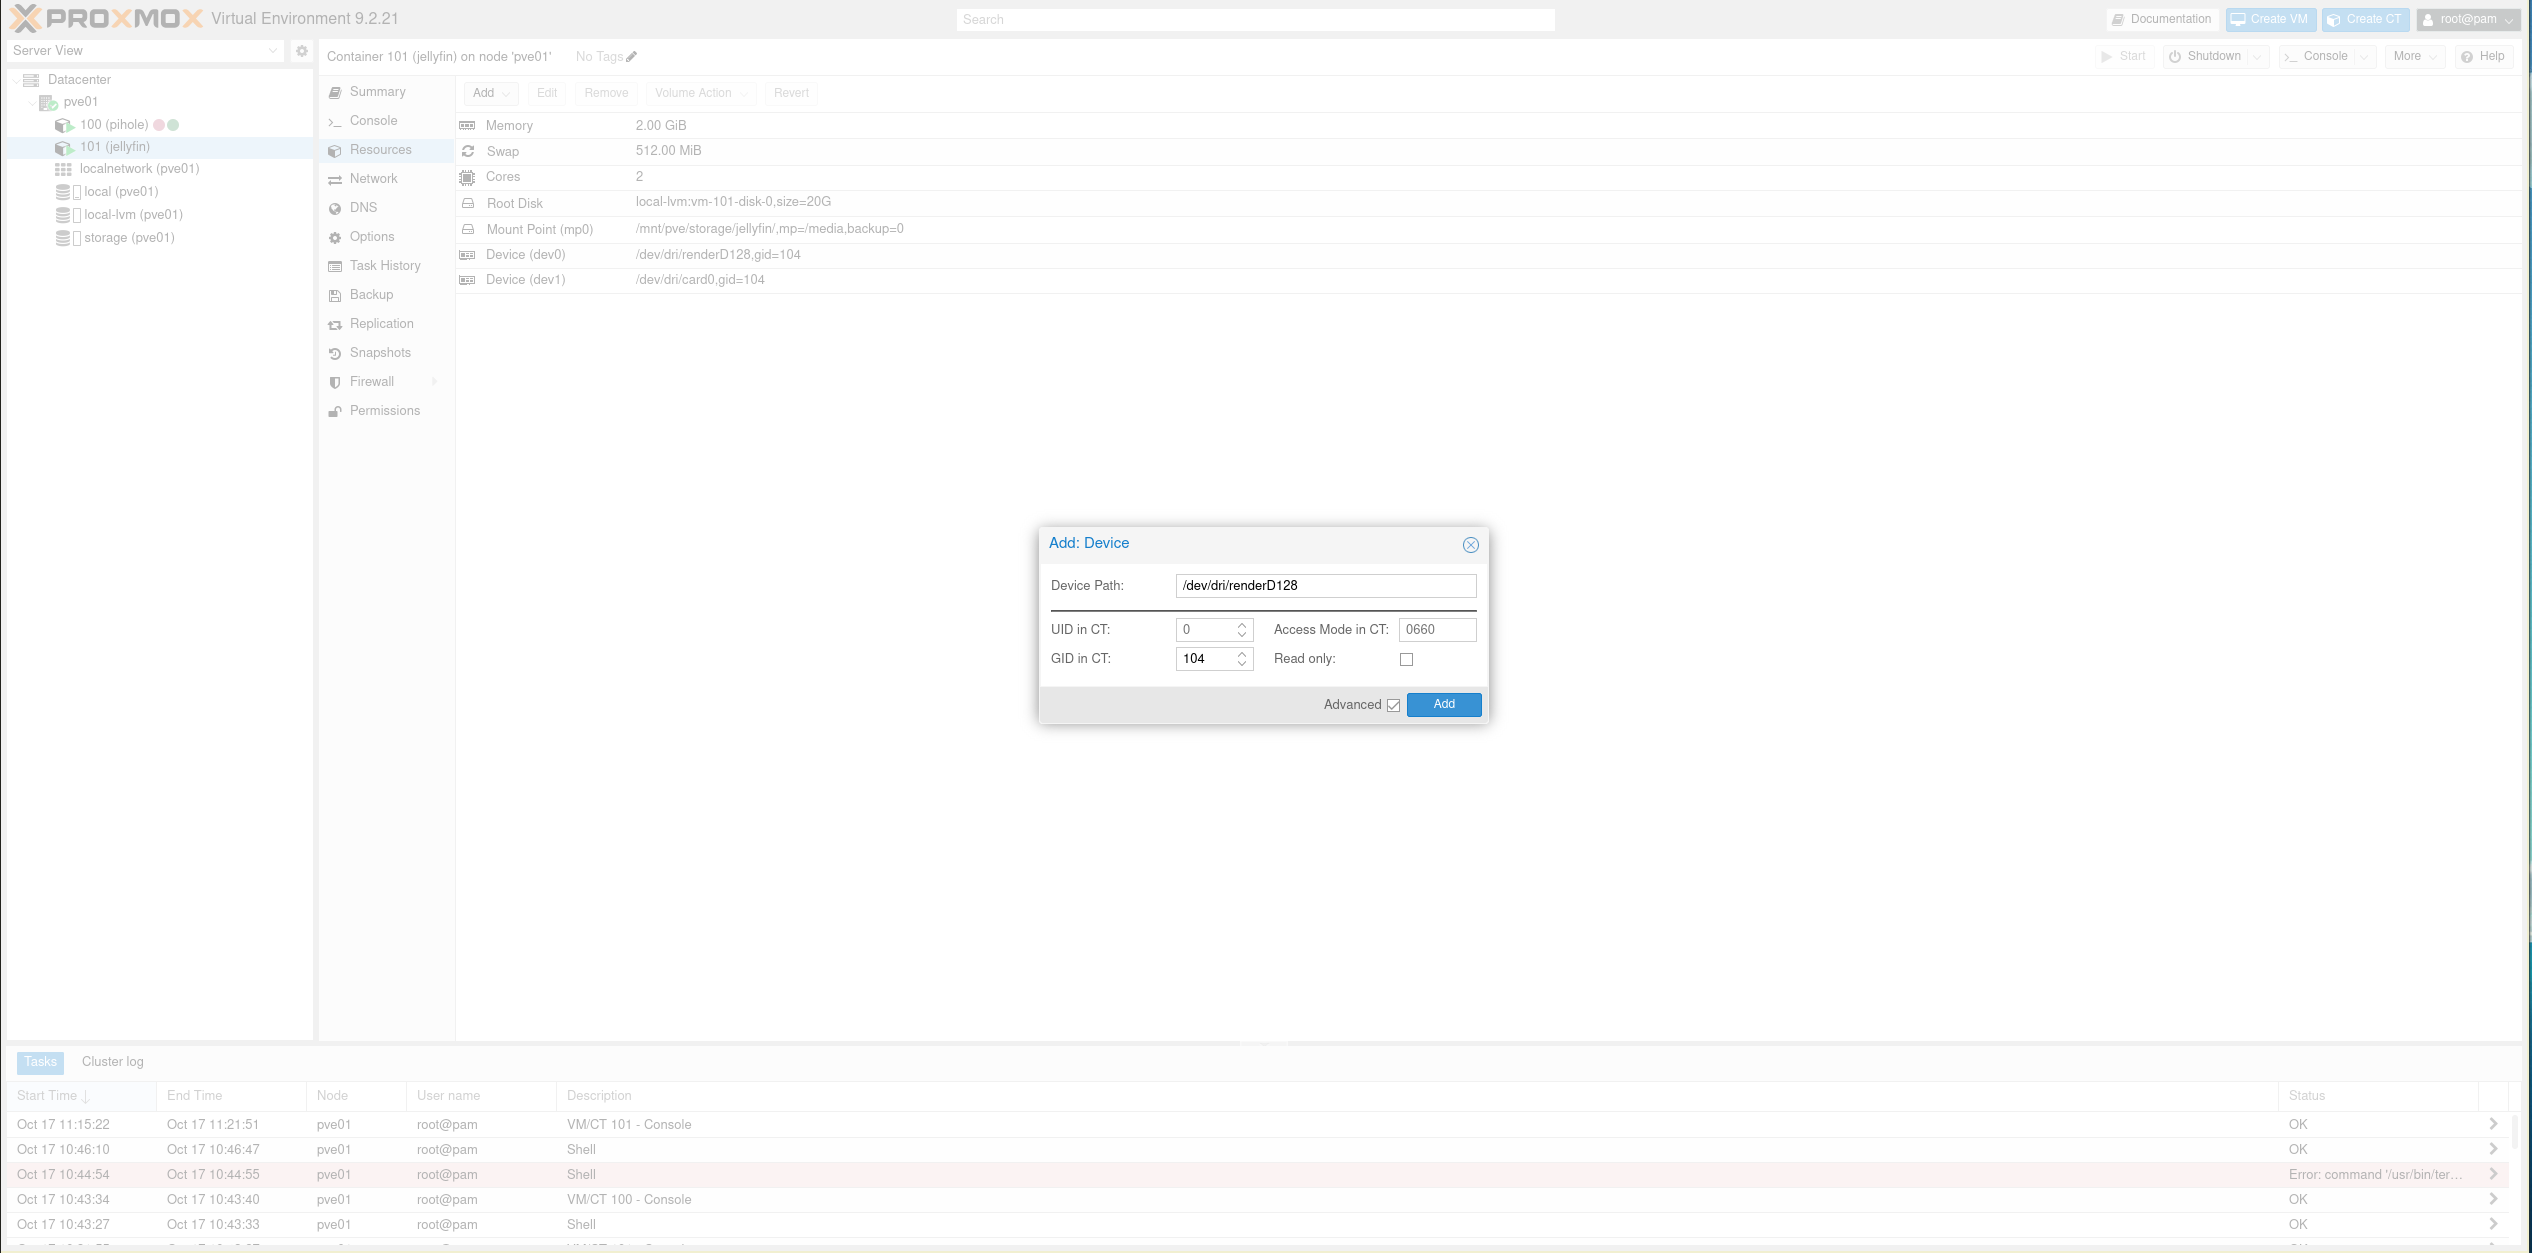
You can find out the GID of your render group with this command:
getent group render
By executing the vainfo command on the container shell I can verify that the passthrough was successful: 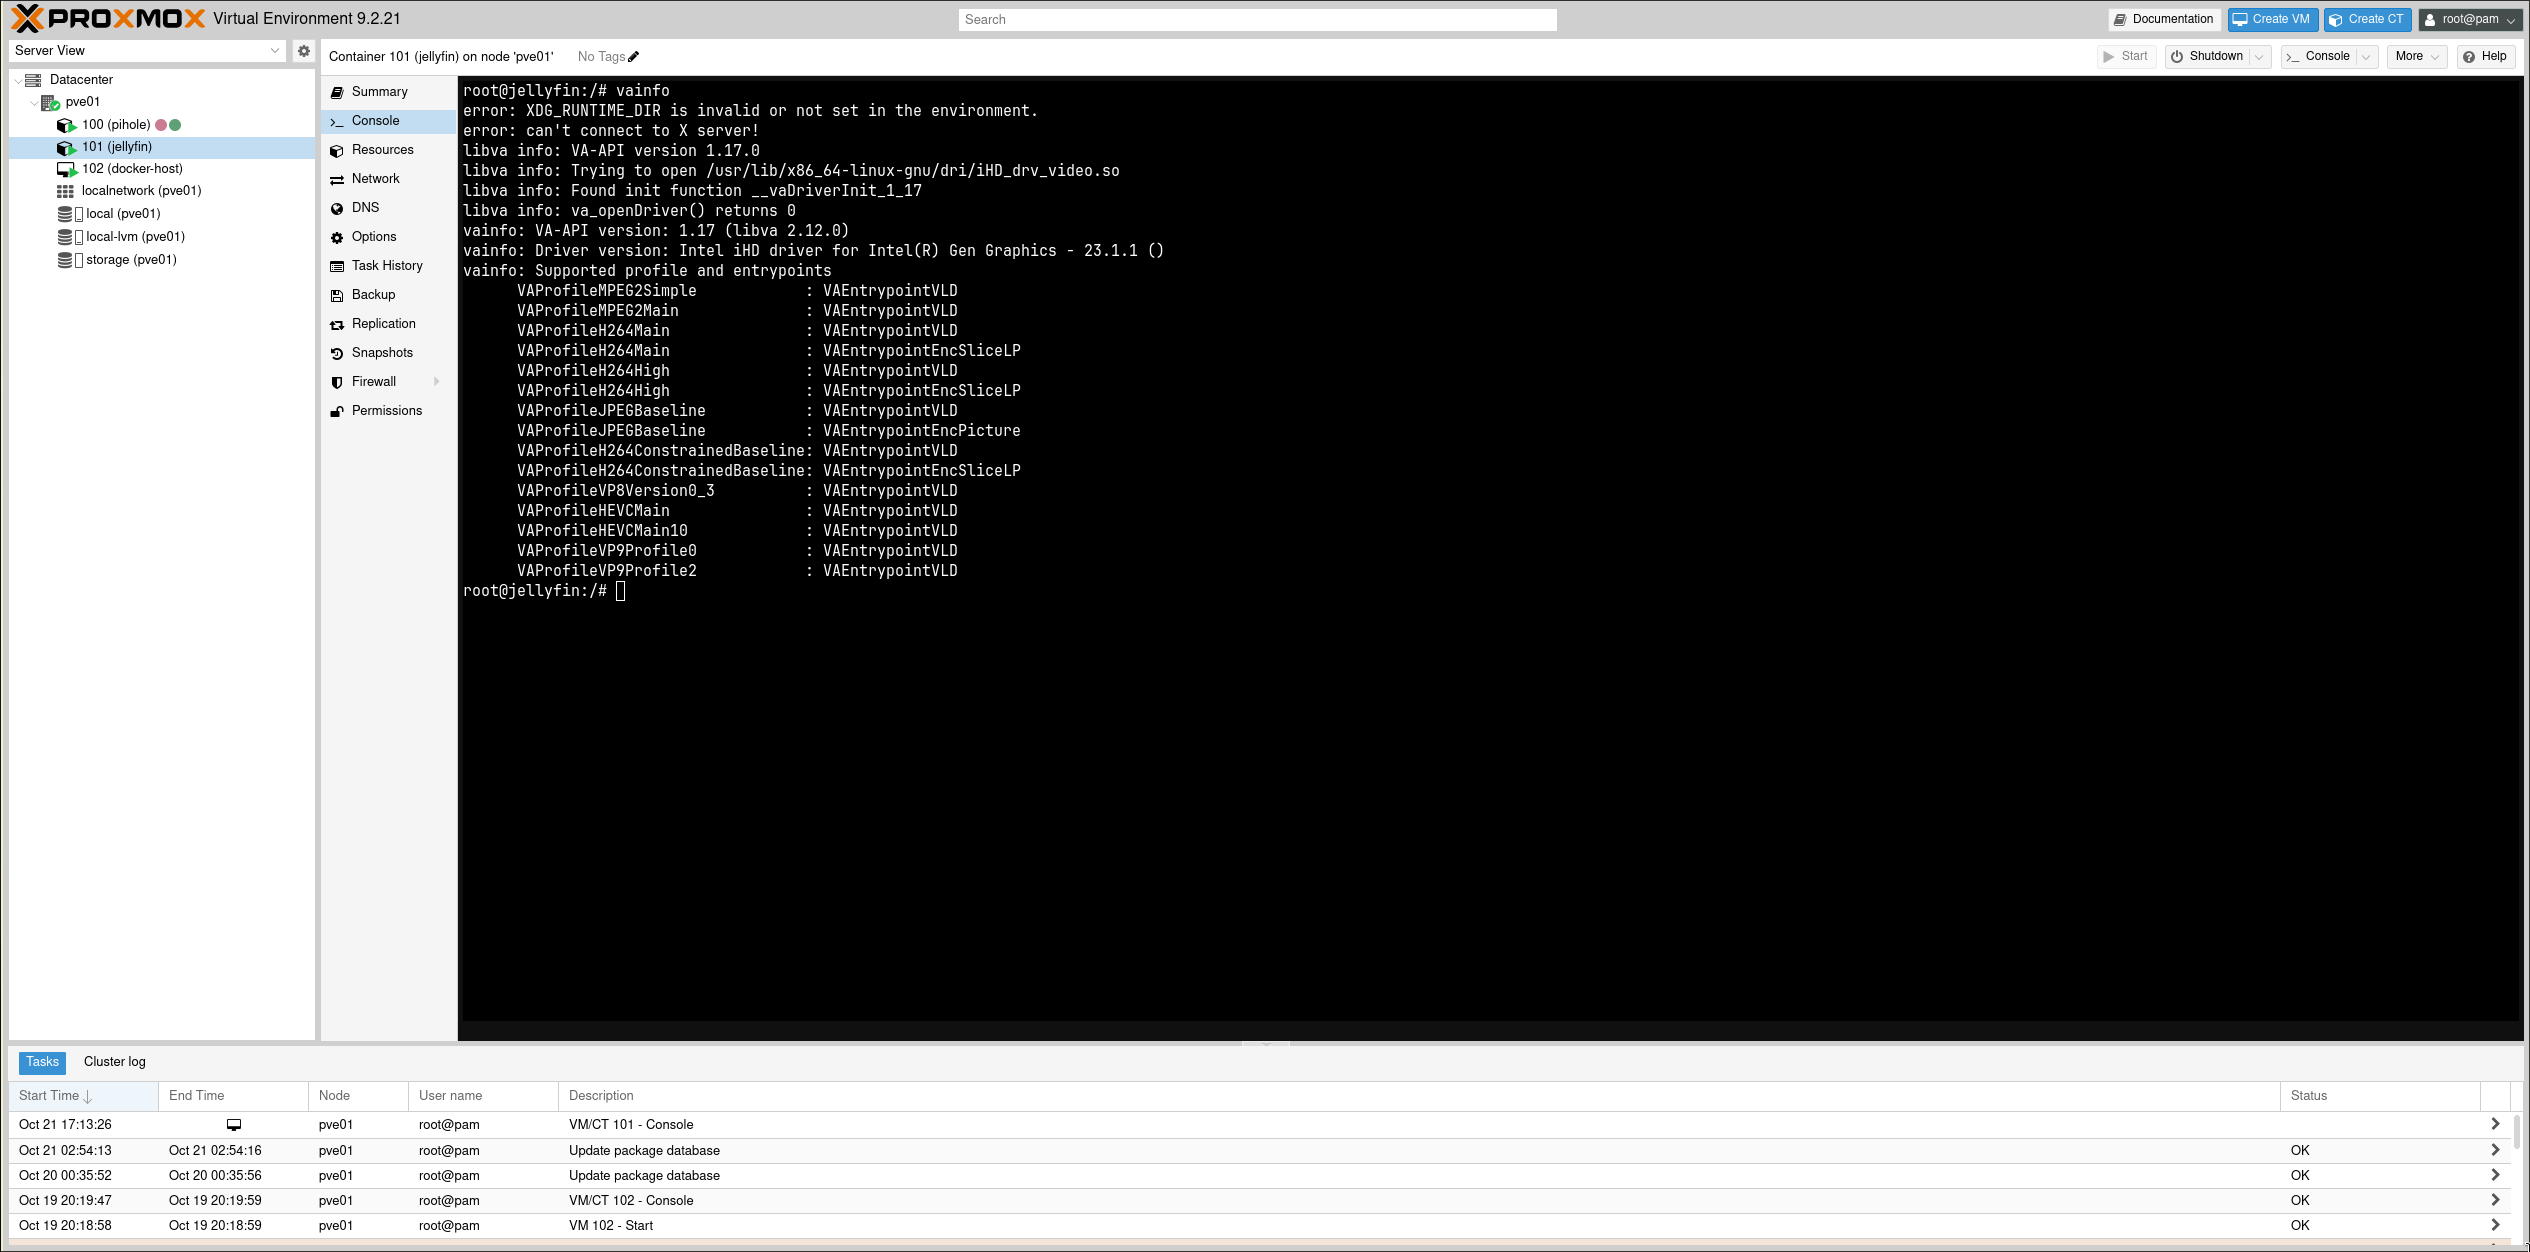
Similarly to the iGPU, I also passed a storage location to the container. This is where I will be storing all my media files that Jellyfin will stream later. Simply click Add > Mount Point. Since I do not have a NAS yet (why? see my introductory statement), for now this is just a folder on the HDD in my server.
Make sure that the jellyfin user has read/write permissions in your mount point in the container, otherwise it won’t be able to access the media files!
Installing Jellyfin
Now it is time to start the container for the first time and get to installing Jellyfin.
First step is always to update && upgrade the system with:
apt update && apt upgrade -y
Then I installed vainfo on the container as well to verify that the iGPU pass through was successful (see previous image for the output):
apt install vainfo -y
vainfo
Installed Jellyfin via their official install script with curl:
apt install curl -y
curl https://repo.jellyfin.org/install-debuntu.sh | bash
Then enabled the service in systemctl:
systemctl enable --now jellyfin
Added Jellyfin to the render and video groups, so that it can access the iGPU we passed through earlier:
usermod -aG render jellyfin
usermod -aG video jellyfin
Then restarted the Jellyfinservice to enable it to use the new user groups:
systemctl restart jellyfin
And then navigate to http://YOUR_JELLYFIN_IP:8096 and you will be greeted with this screen: 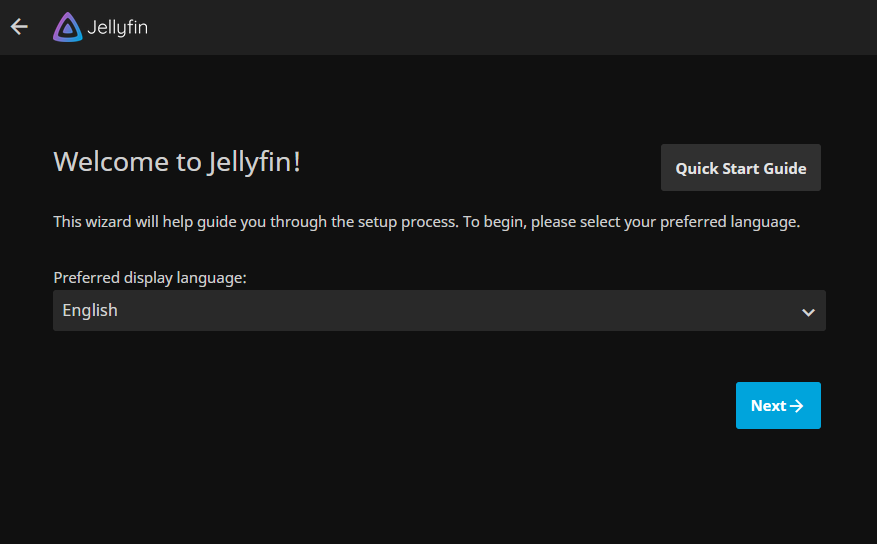
Configuring Jellyfin
At this point Jellyfin is running on my server. I did it yay! For the last part I will show some important configuration that I did.
Go to your dashboard and navigate to Libraries. Click on Add Media Library, name your library and point to the folder (or subfolder) that was mounted earlier: 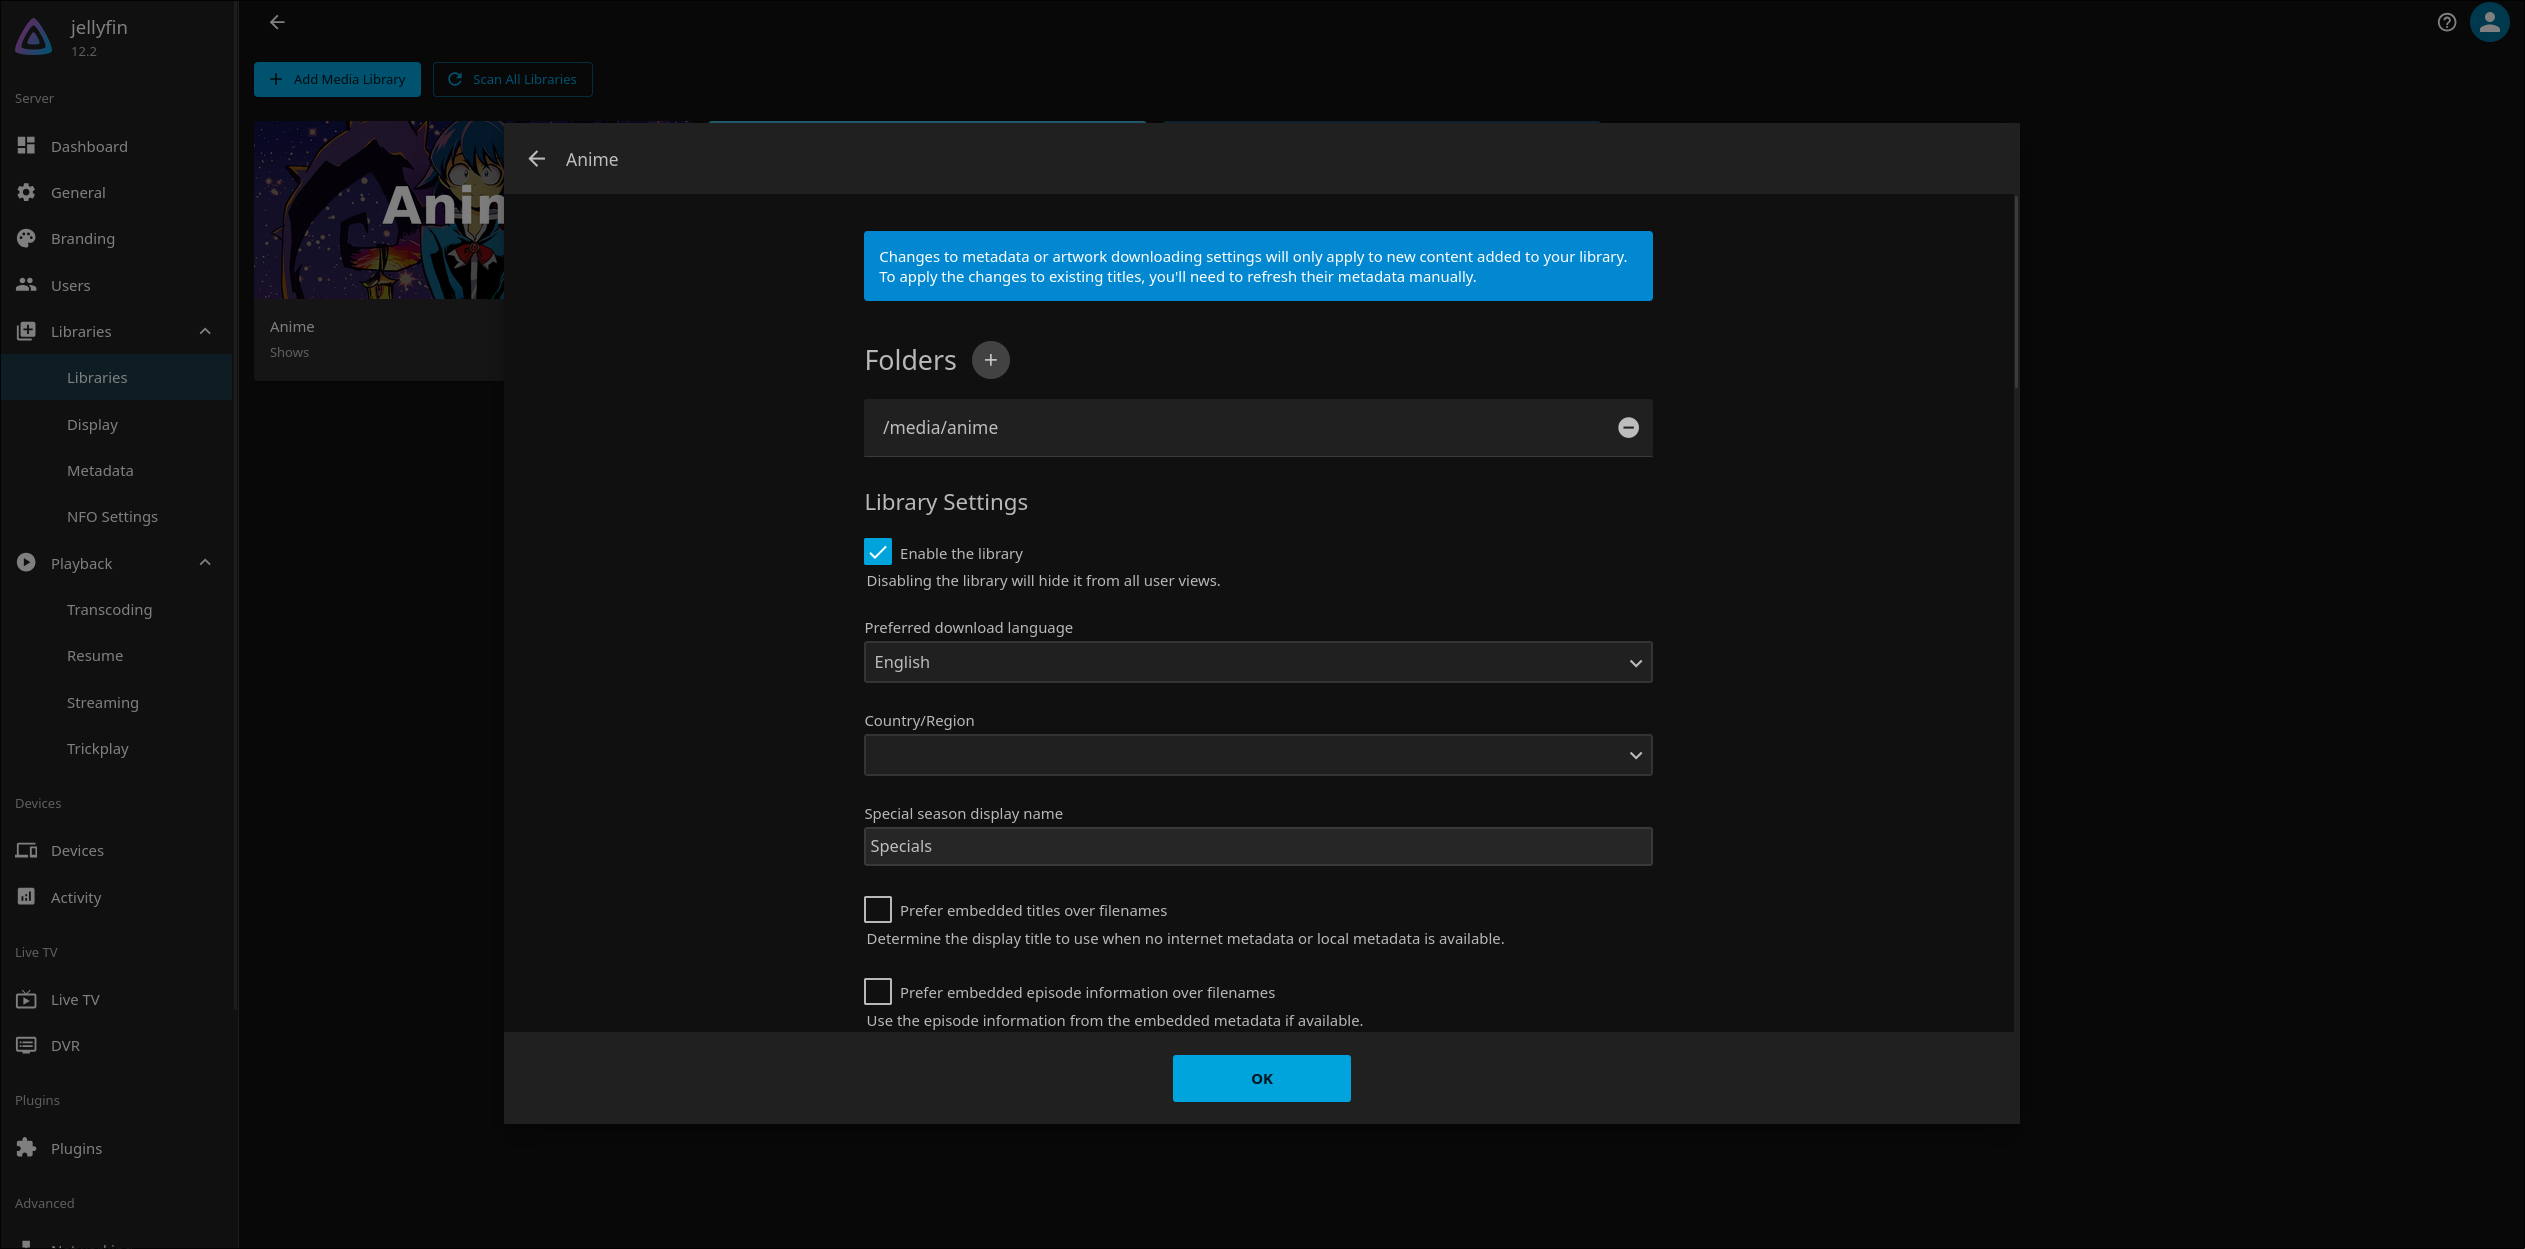
Afterwards don’t forget to click Scan All Libraries, so that the content in the folder gets recognized by Jellyfin.
And lastly turn on transcoding with the iGPU we passed through earlier. Simply go to Playback > Transcoding and set the Hardware Acceleration to Intel Quicksync (QSV) and the QSV Device to /dev/dri/renderD128: 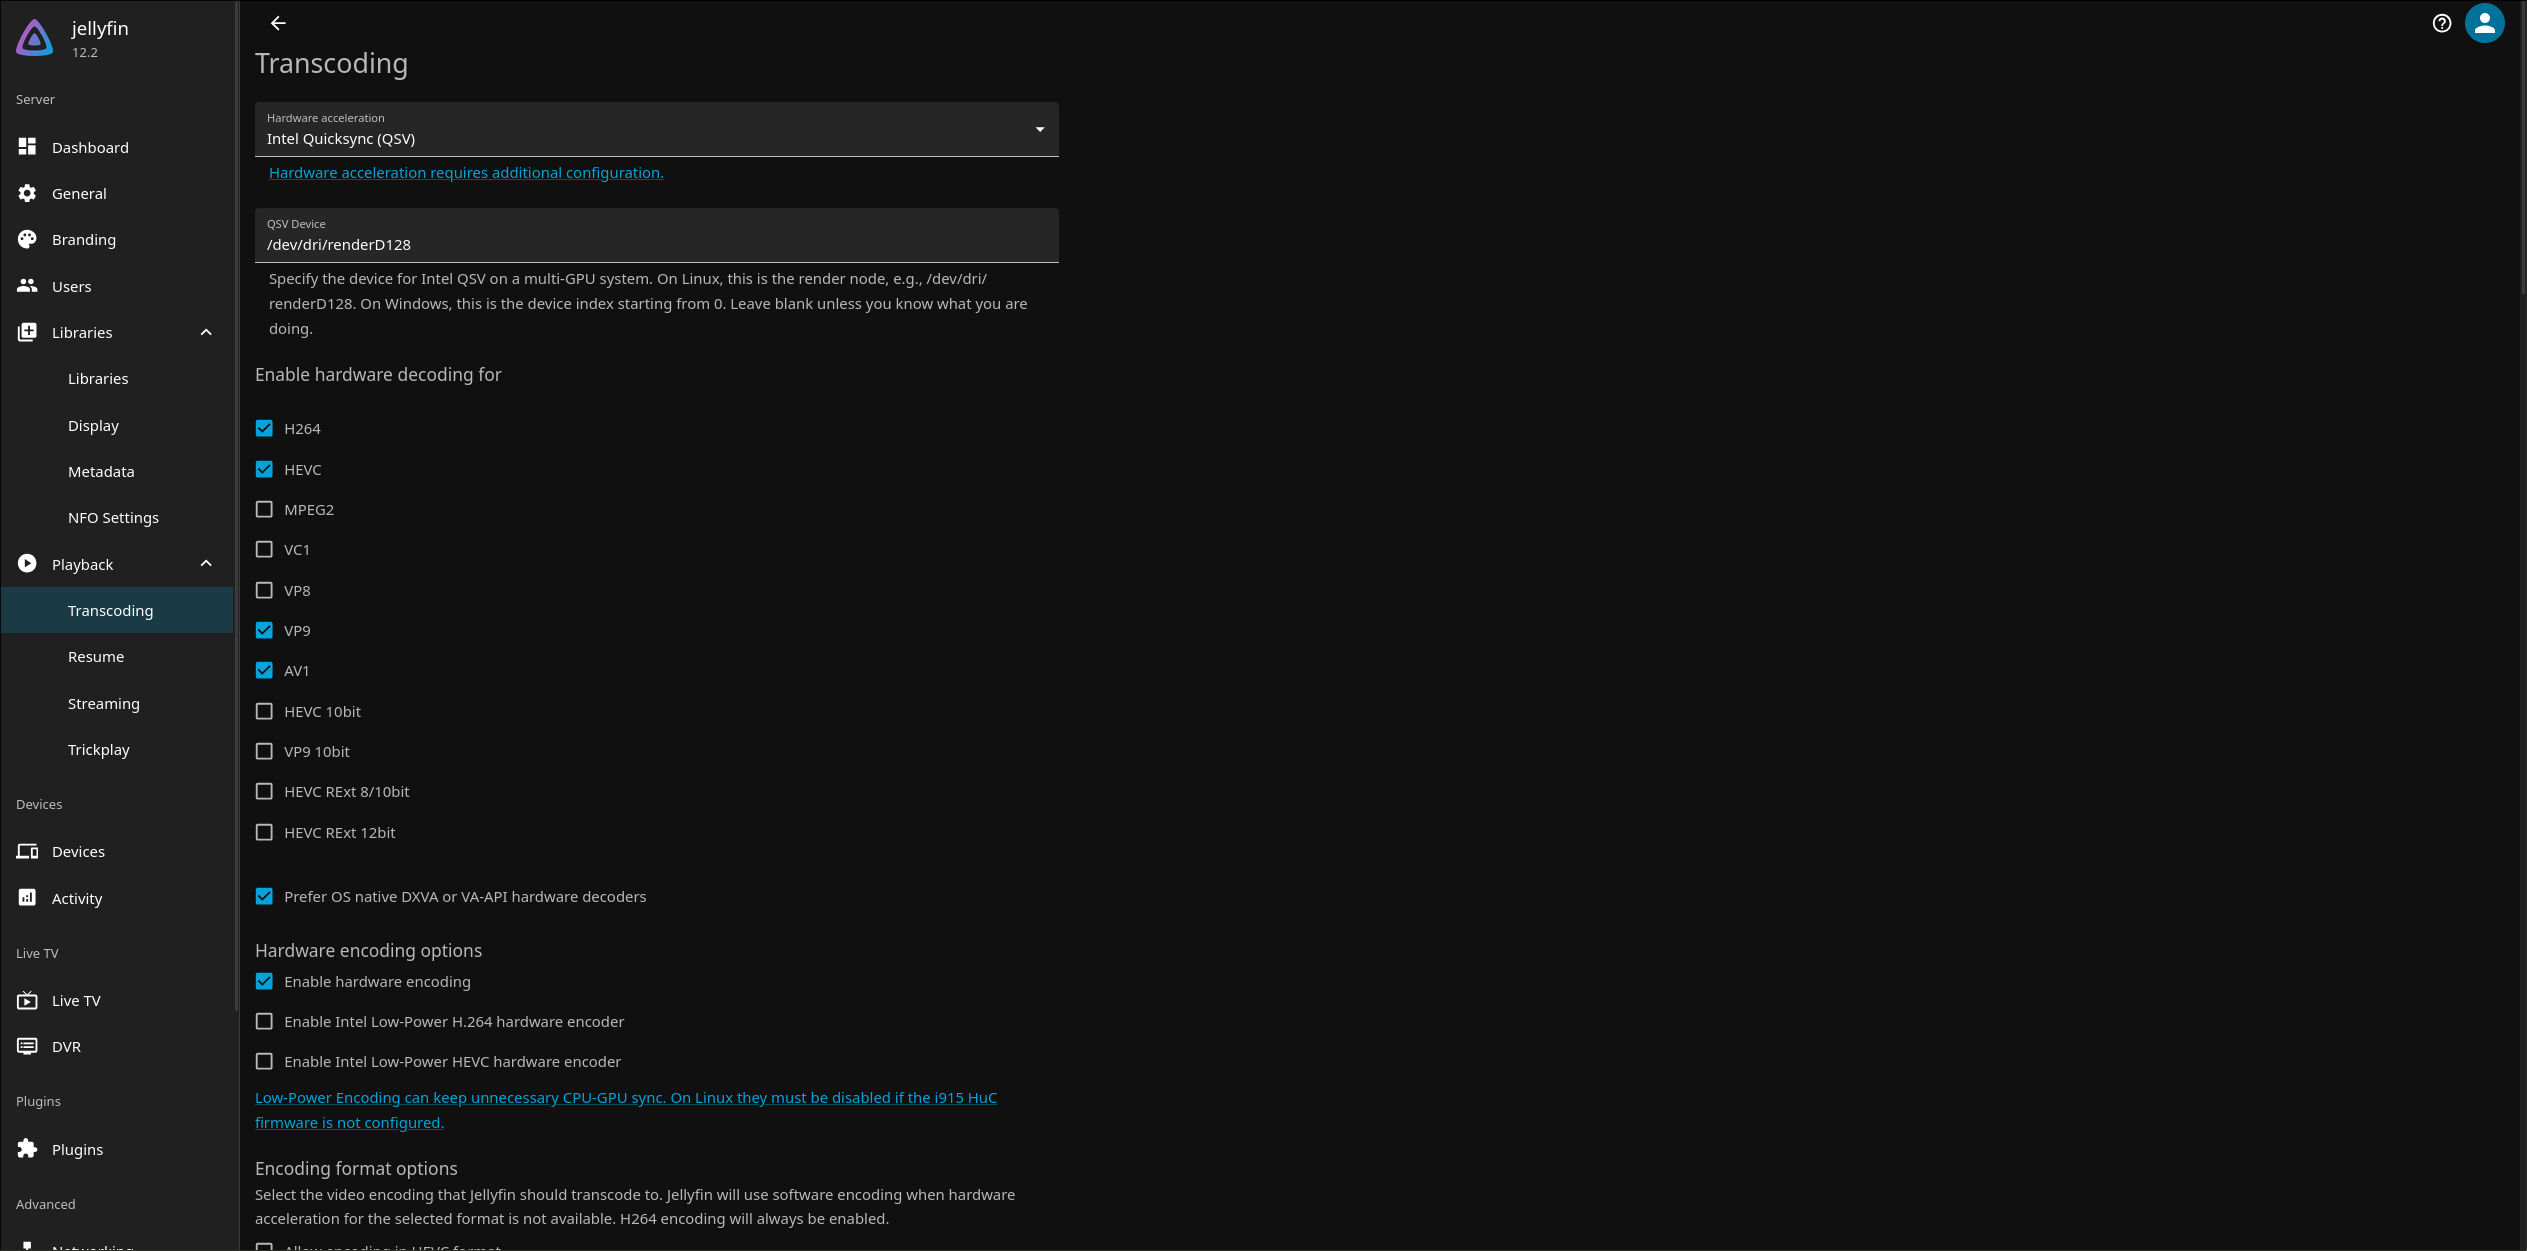
Also do not forget to create some user(s). Avoid using the admin user for normal use.
Testing and conclusion
To test I uploaded an Anime that I owned to the Jellyfin directory with the SCP command like this:
scp -r /path/to/local/folder root@<your-proxmox-ip>:/path/to/jellyfin/folder
And after installing the Jellyfin app to my FireTV Stick and logging in, here is the result in all its glory: 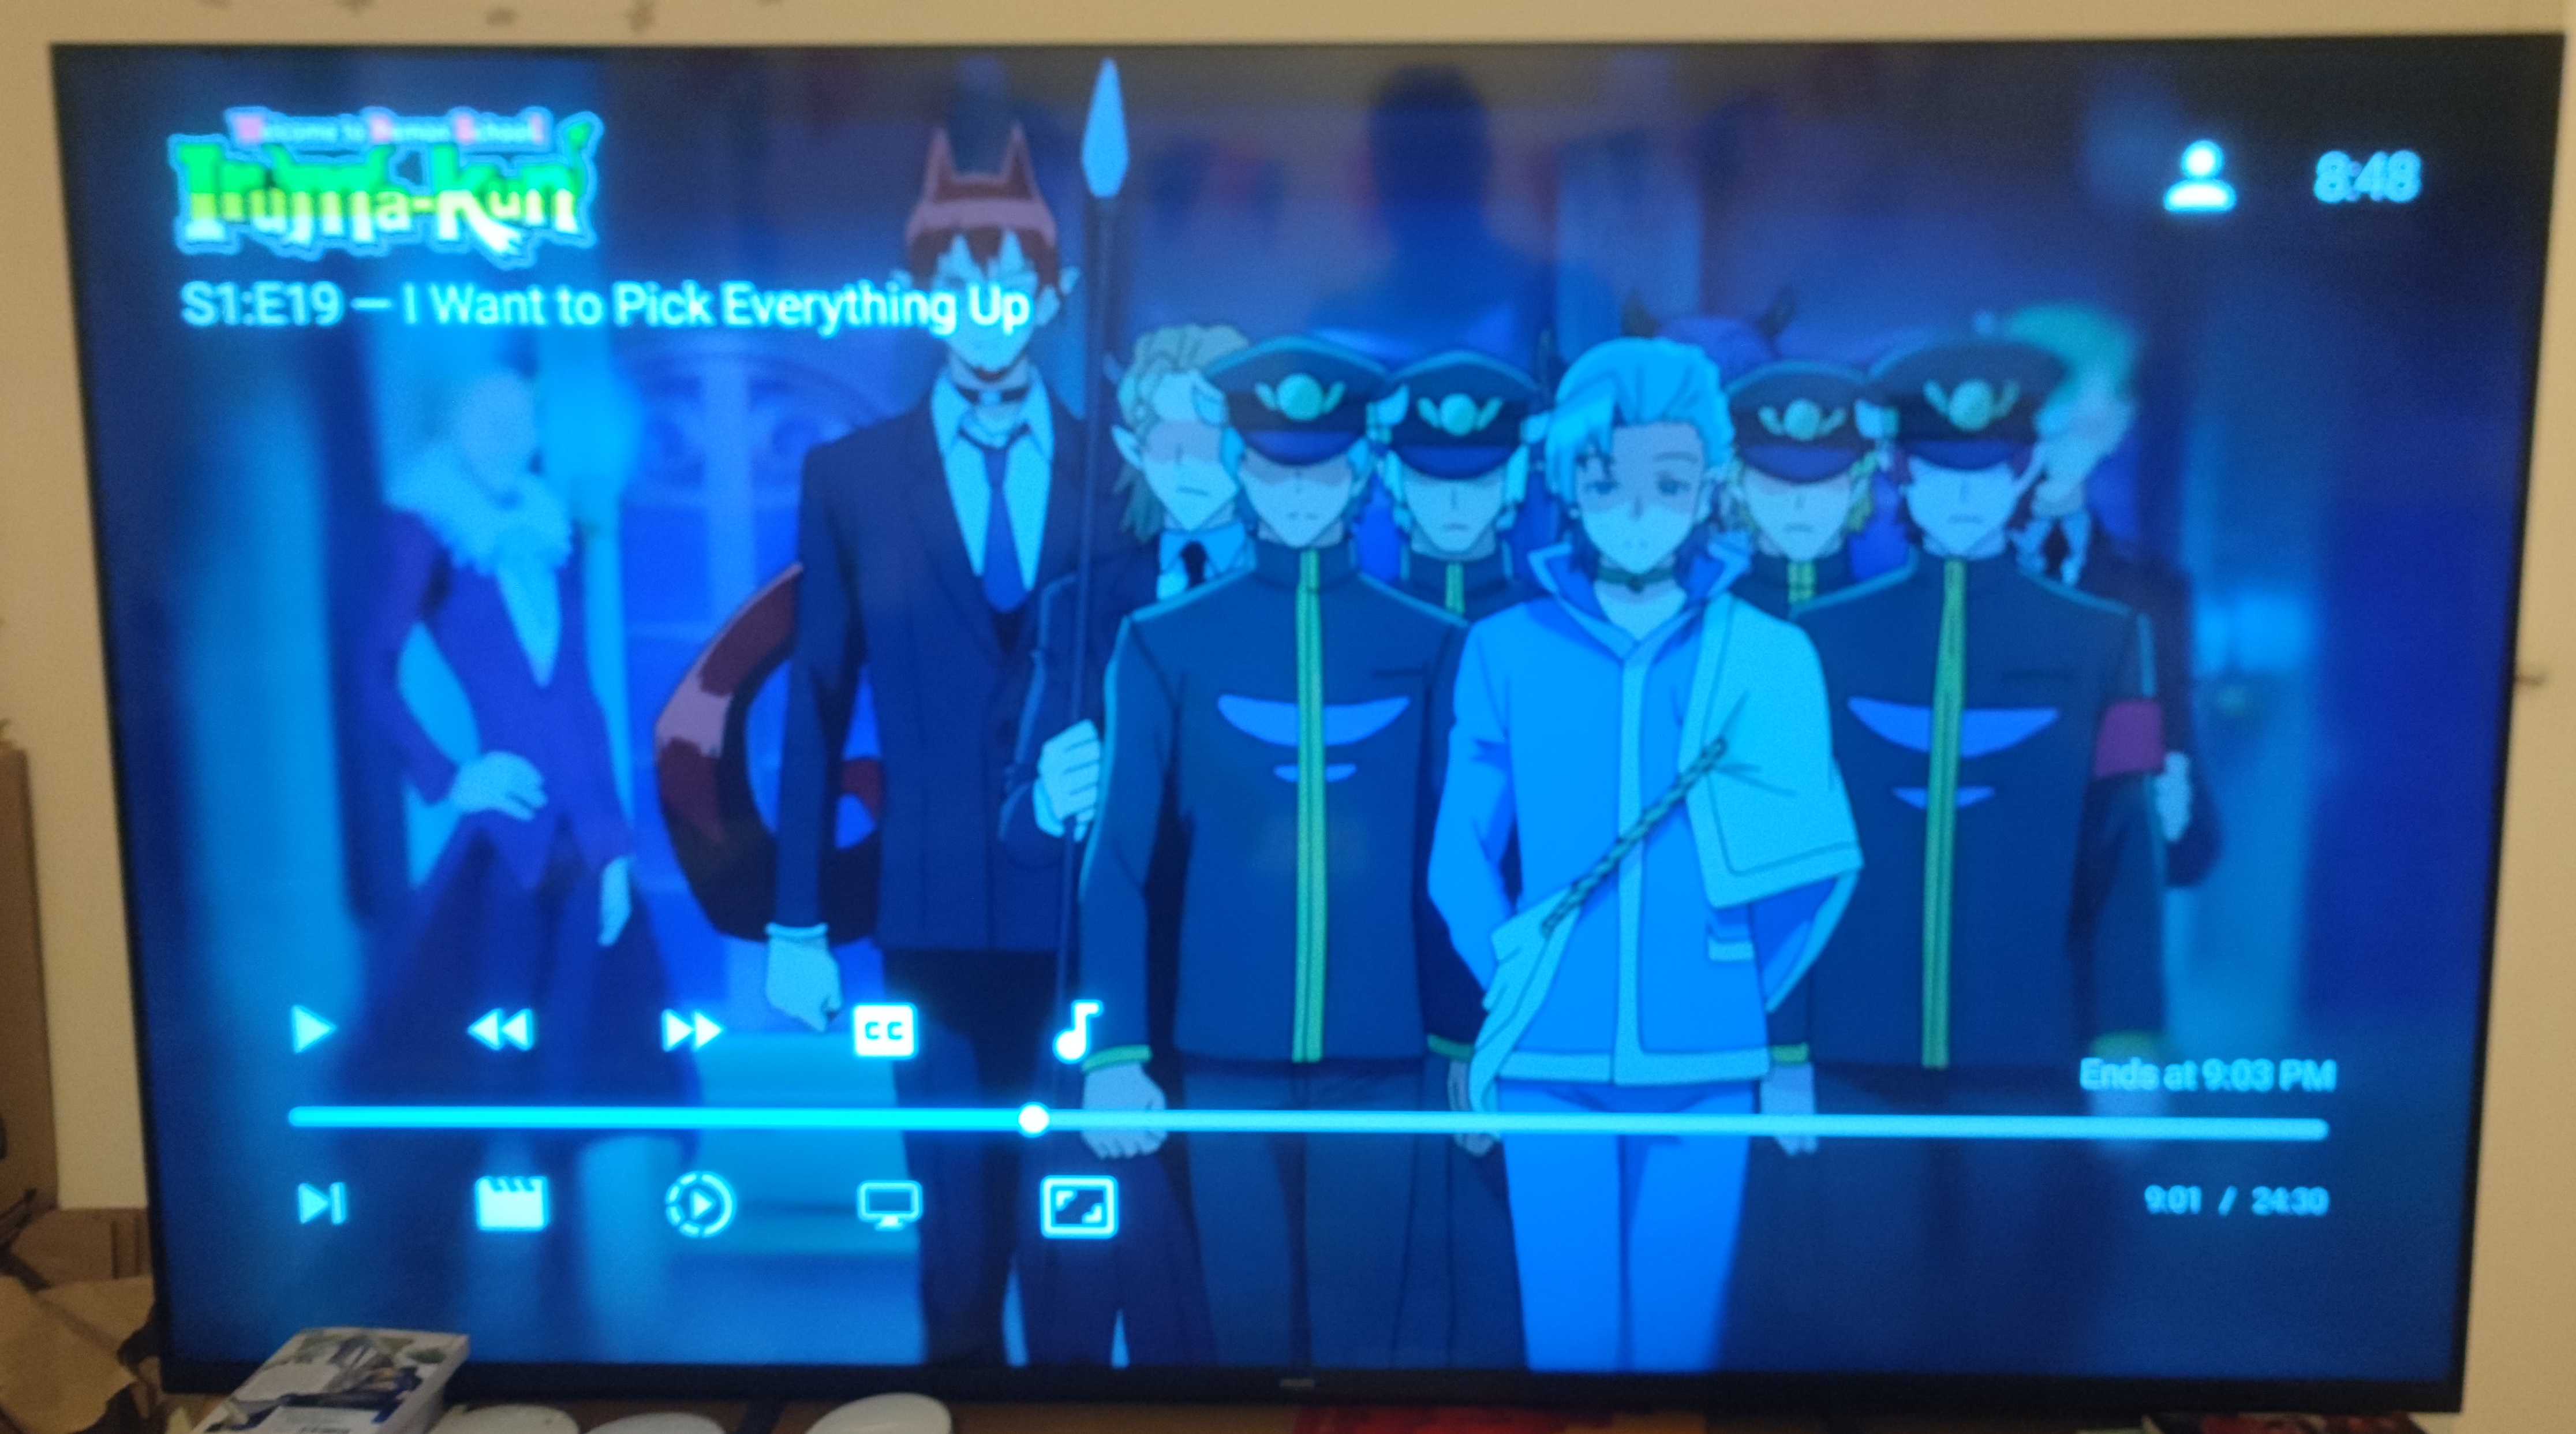
With this I can say goodbye to any streaming service and instead focus on building my own physical/digital media library. I am very happy with the results, even though I suspect I will be spending a lot of money on storage in the future.
The next project I want to realize on this server is to set up a VM running Immich to be able to backup and organize all of my vacation photos. Stay tuned!