Computing in the Shadow of AI: HomeServer - Part 3 - Immich Photo Backup
Welcome to Computing in the shadow of AI, where I try re-purposing, upgrading, optimizing and fixing older hardware because I am too broke to afford the current hardware prices.
The Plan
Today I want to install Immich. Immich is a self-hosted photo backup and organisation software and I will use it to finally organise all of my vacation photos.
Since Immich requires multiple components (a Server, a Postgres database, a Redis database and a Machine learning container) all running in Docker, the plan is as follows:
- Create a Debian VM
- Install Docker
- Install Immich and all required services on Docker
- Enjoy
This time I chose a Virtual Machine over a LXC container, because while it is possible to set up Docker in a container, it is much easier to do in a VM.
Creating Debian VM
I choose Debian as the operating system for the VM because I value stability over the newest software and Debian is a trusted and reliable choice for servers. Their own website describes it best: “Debian is stable and secure.” and “Debian provides smooth Upgrades.”
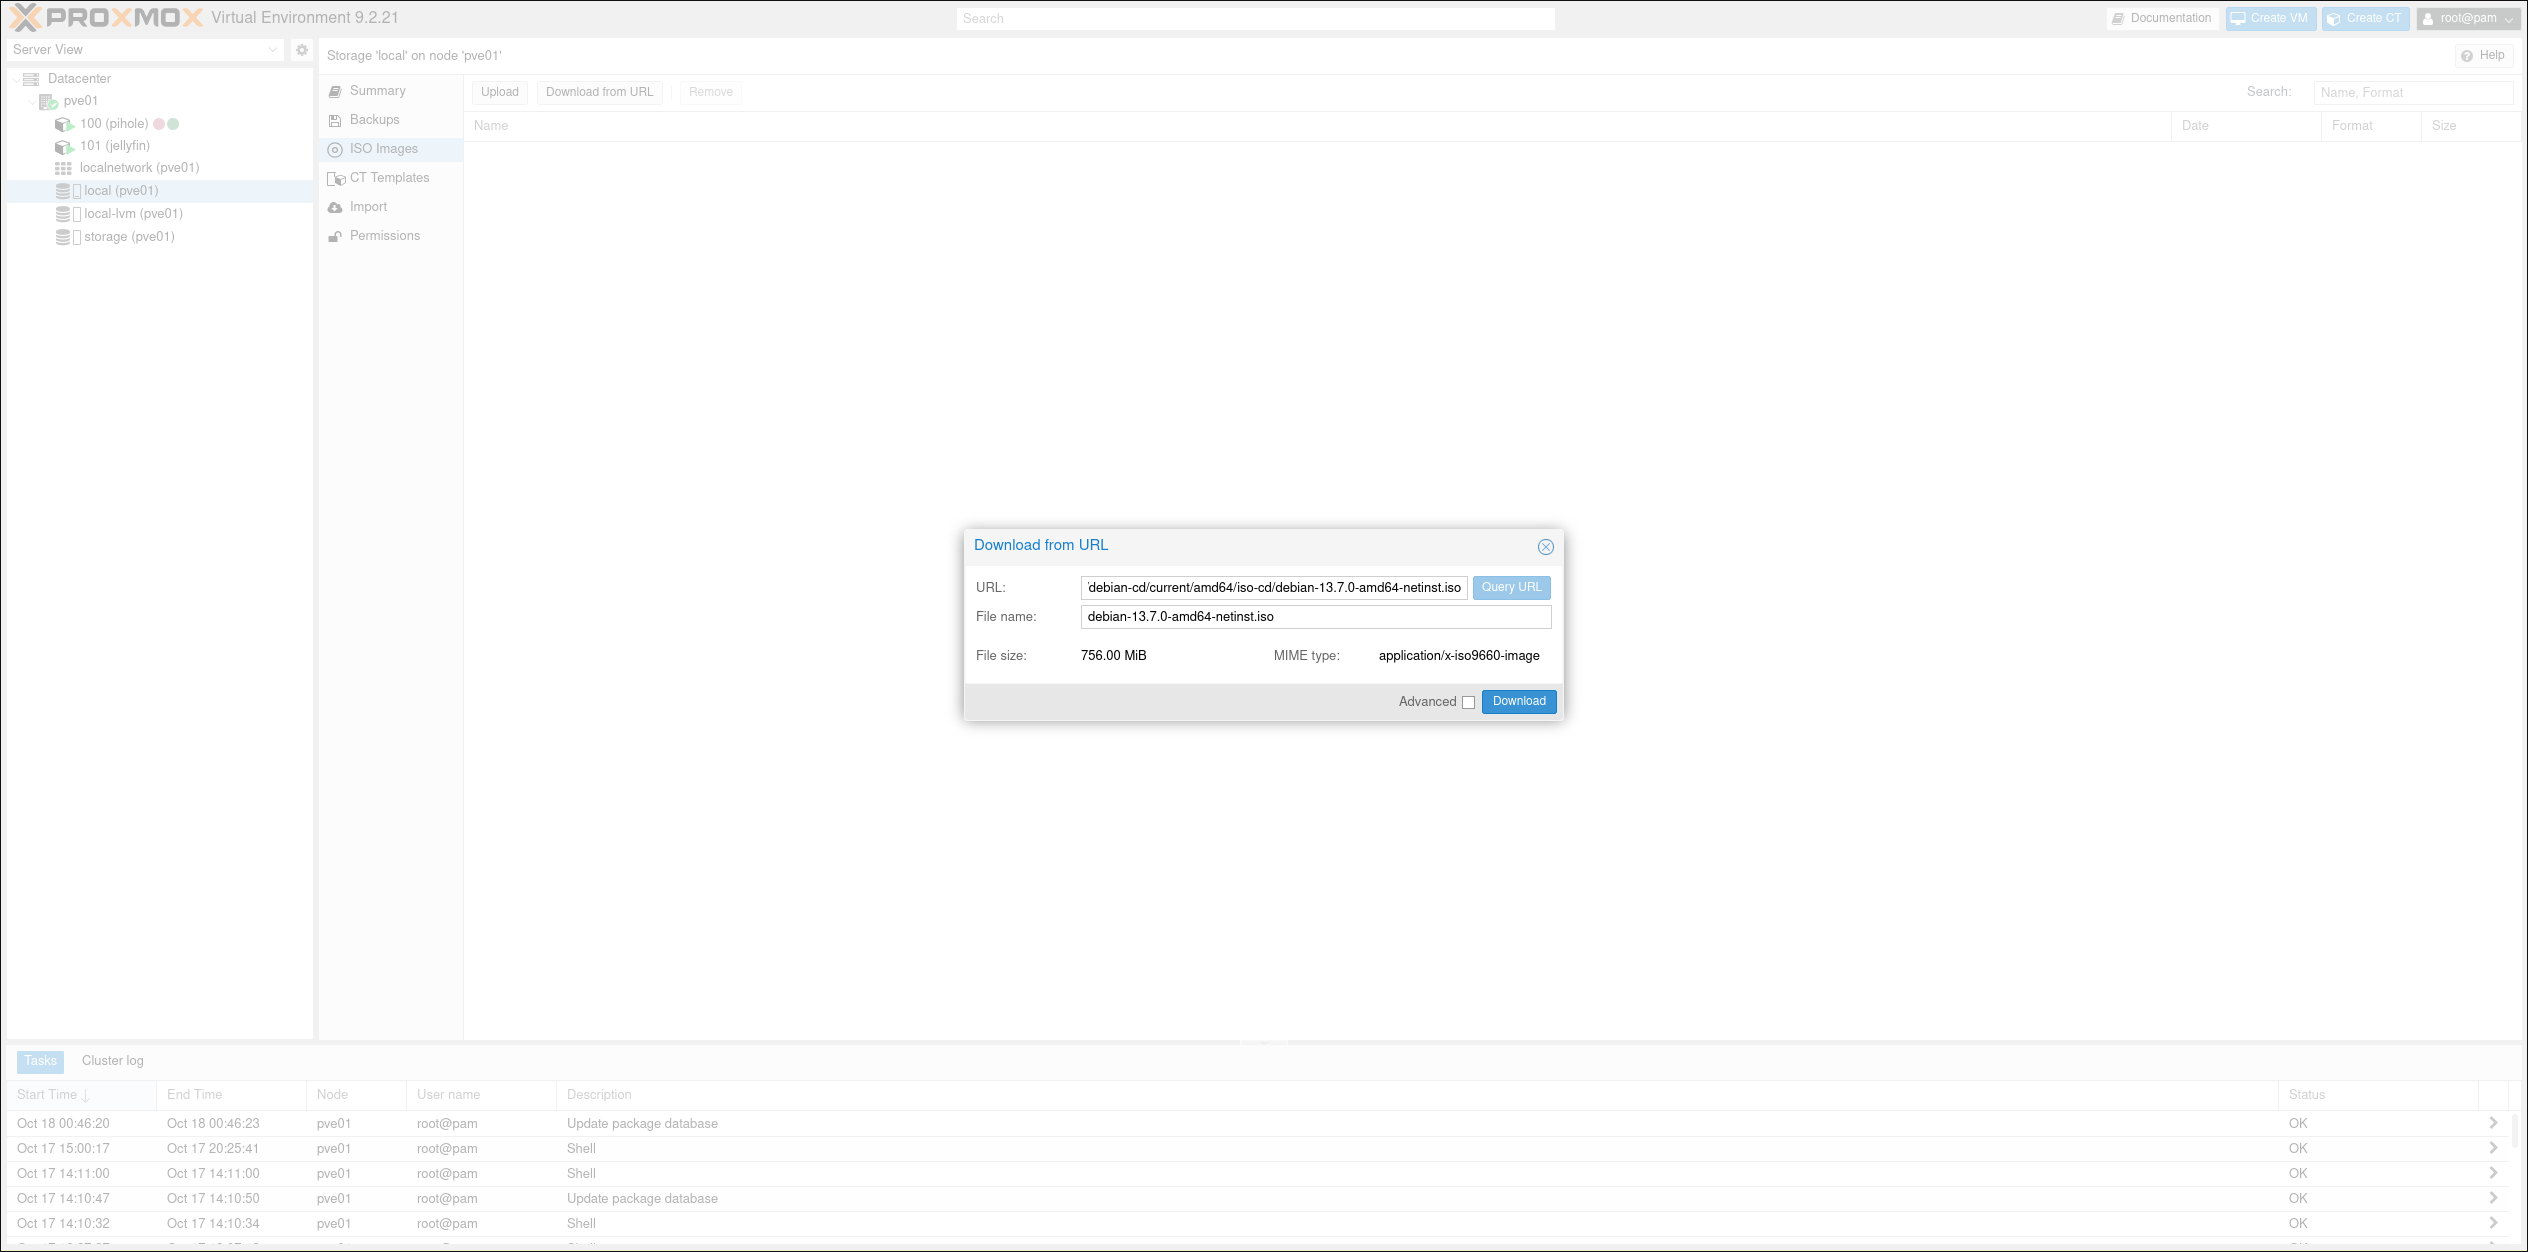
Before I can start setting up my VM, I need to download my image file from their server. Here is the link I used: Debian 13.7.0 ISO
You can download it to your Proxmox node by navigating to one of your storages (In my case local) and selecting the ISO Images tab. Then simply paste your download link and hit Download
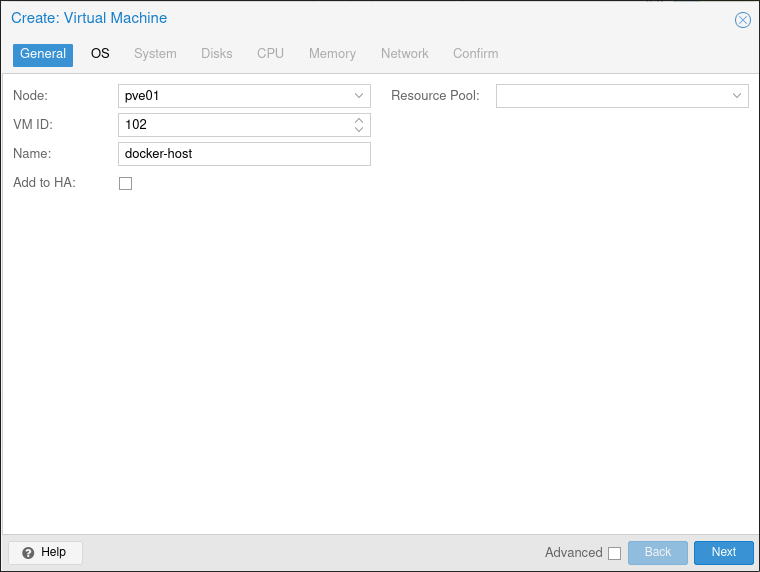
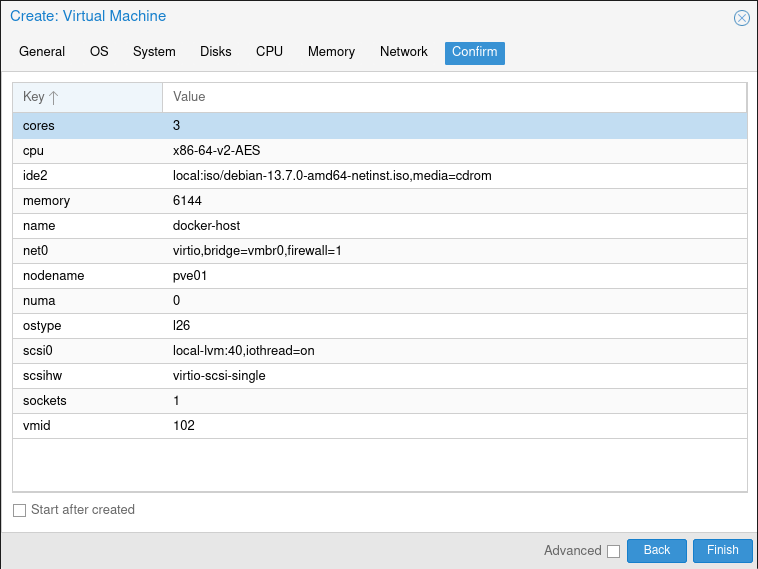
Now we can start configuring our VM. Similarly to a container, navigate to your Proxmox Node where you want to install the VM, Right-Click it and select Create VM. Then follow the instructions:
Choose a hostname and a VM ID. I chose docker-host as my hostname.
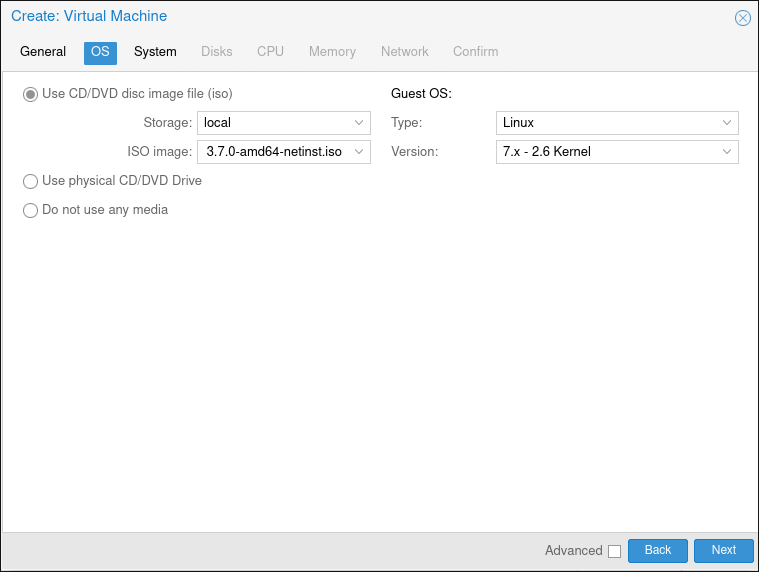
Then choose the Image file downloaded in the previous step.
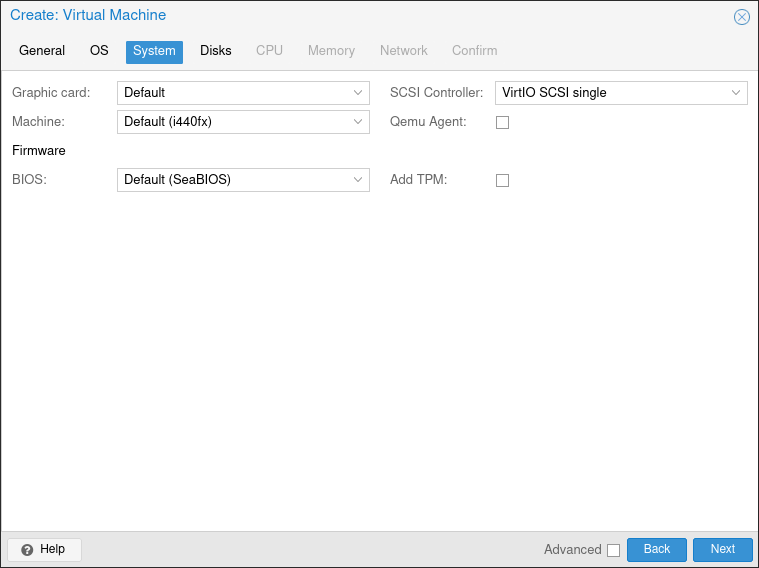
I left the default system settings, since I do not need anything special (like a GPU passthrough) for this VM.
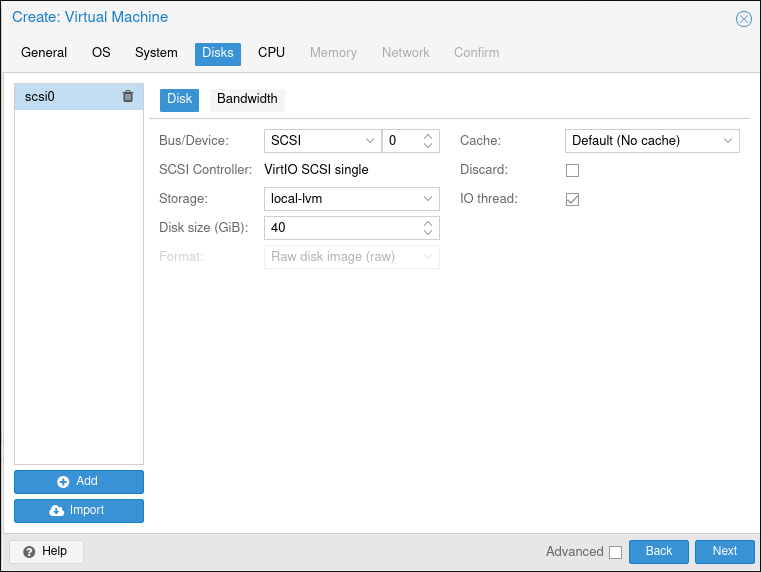
Give the VM some storage. This is only for the installation, the photos will be stored in a seperate storage location that we will add later.
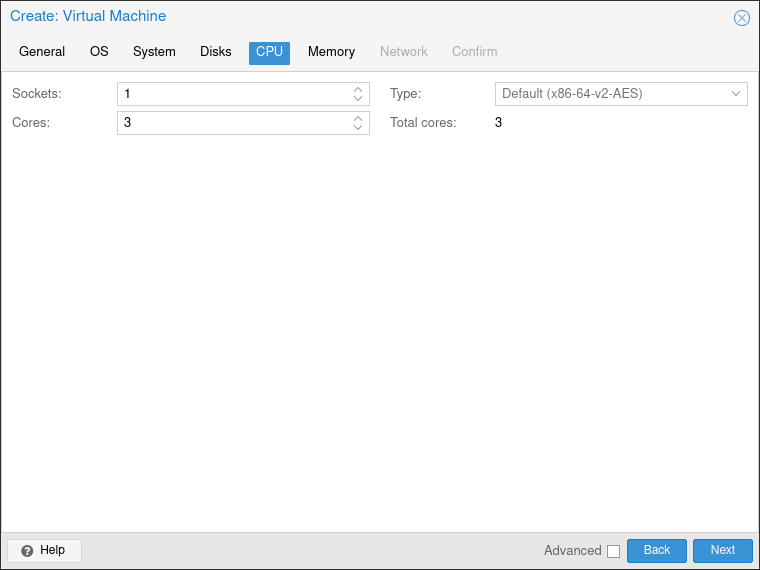
Assign some CPU cores. I gave it 3 so that the machine learning does not slow the whole app down to a crawl, if I decide to use it.
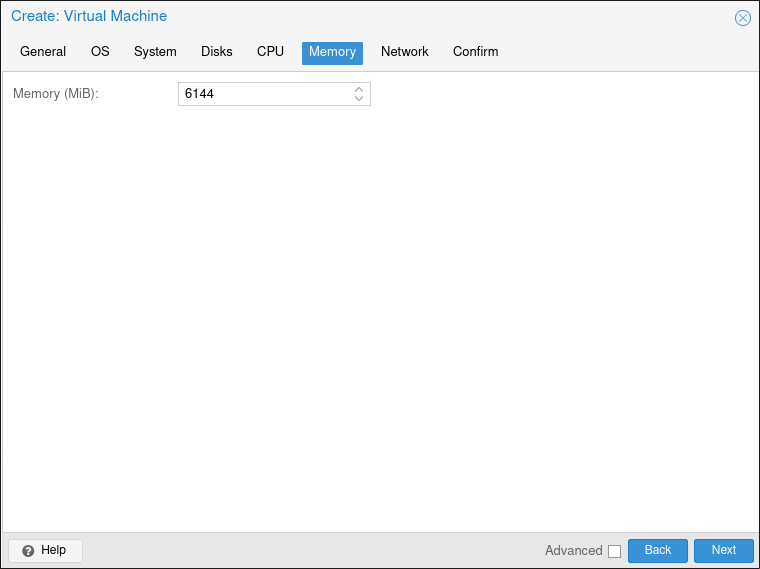
Assign some Memory. I gave it 6GB since that is the minimum requirement in the Immich docs.
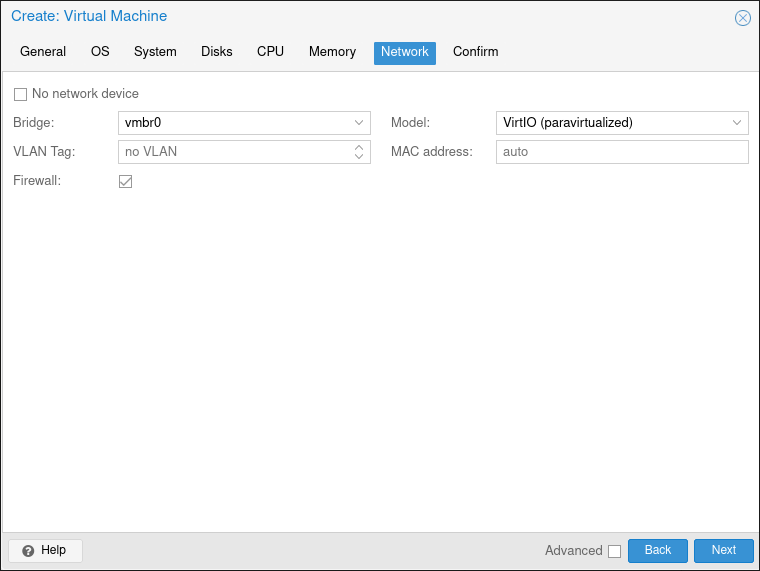
Give the VM a virtual network interface. I just left the default options here.
Review your choices and hit FINISH
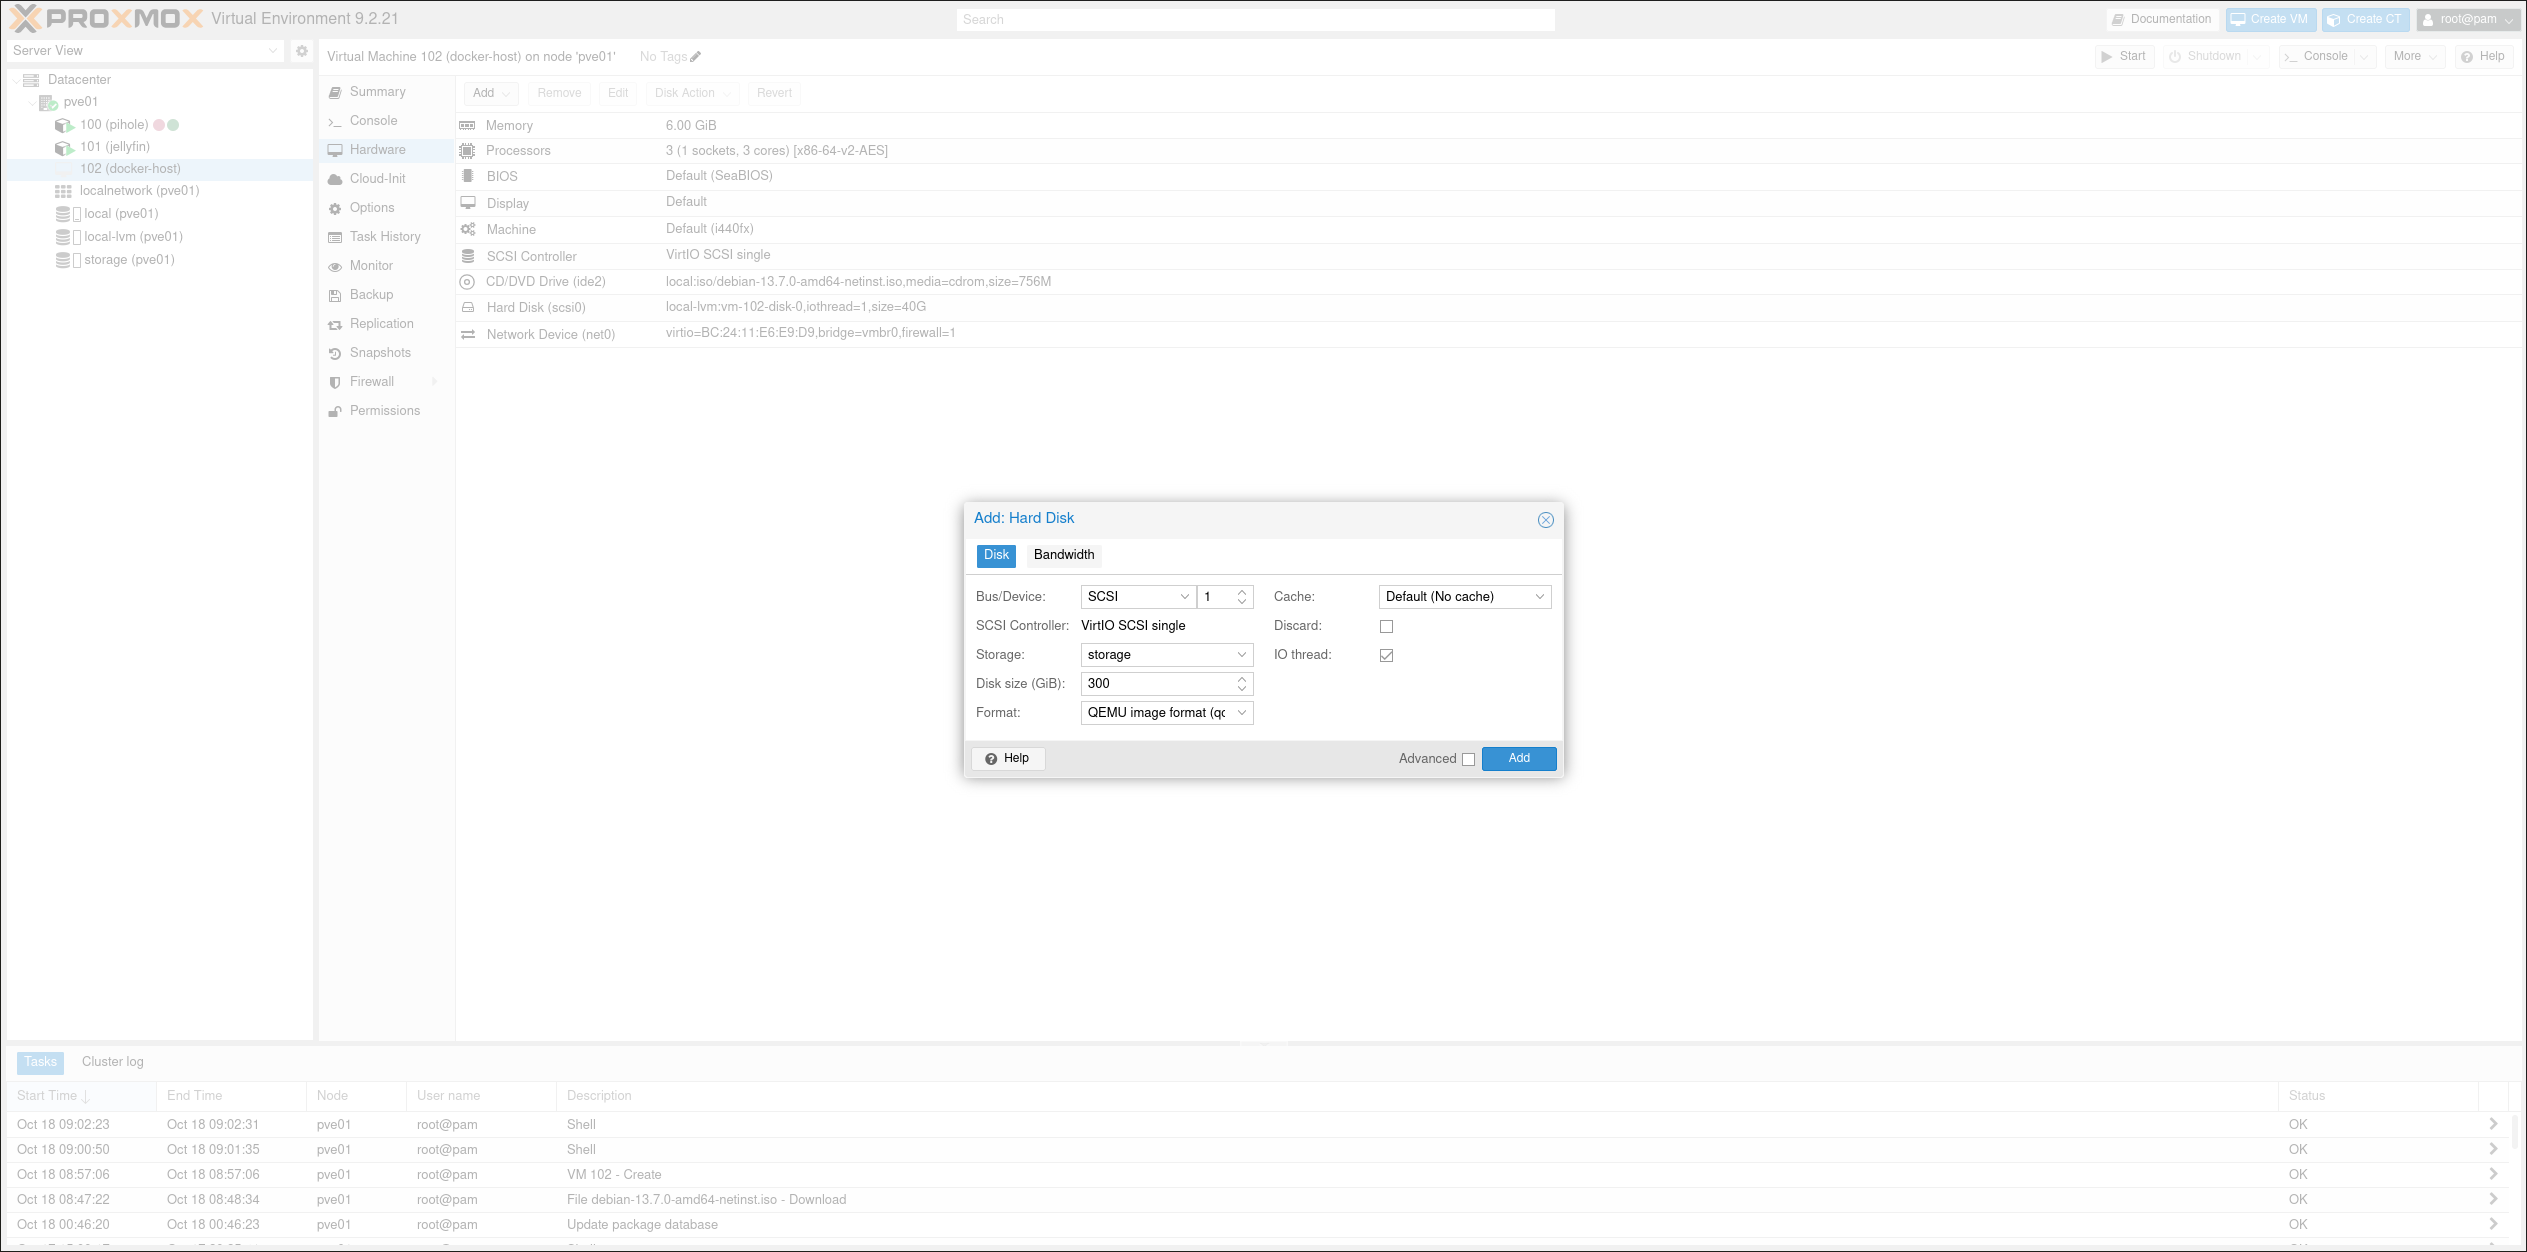
Before I start up the VM for the first time, I still have to assign it the storage space for the photos. For this navigate to the newly created VM and then go to Hardware. There simply click Add > Hard Disk, select the storage and disk size and hit Add. Now the VM has another “Hard Drive” where I can save the actual photos and videos to.
Now we are ready to install all of the necessary software onto the VM.
Installing Software
When launching the VM for the first time you will be greeted by the installer of your chosen OS, in my case Debian. Simply install the OS like you would on any desktop machine.
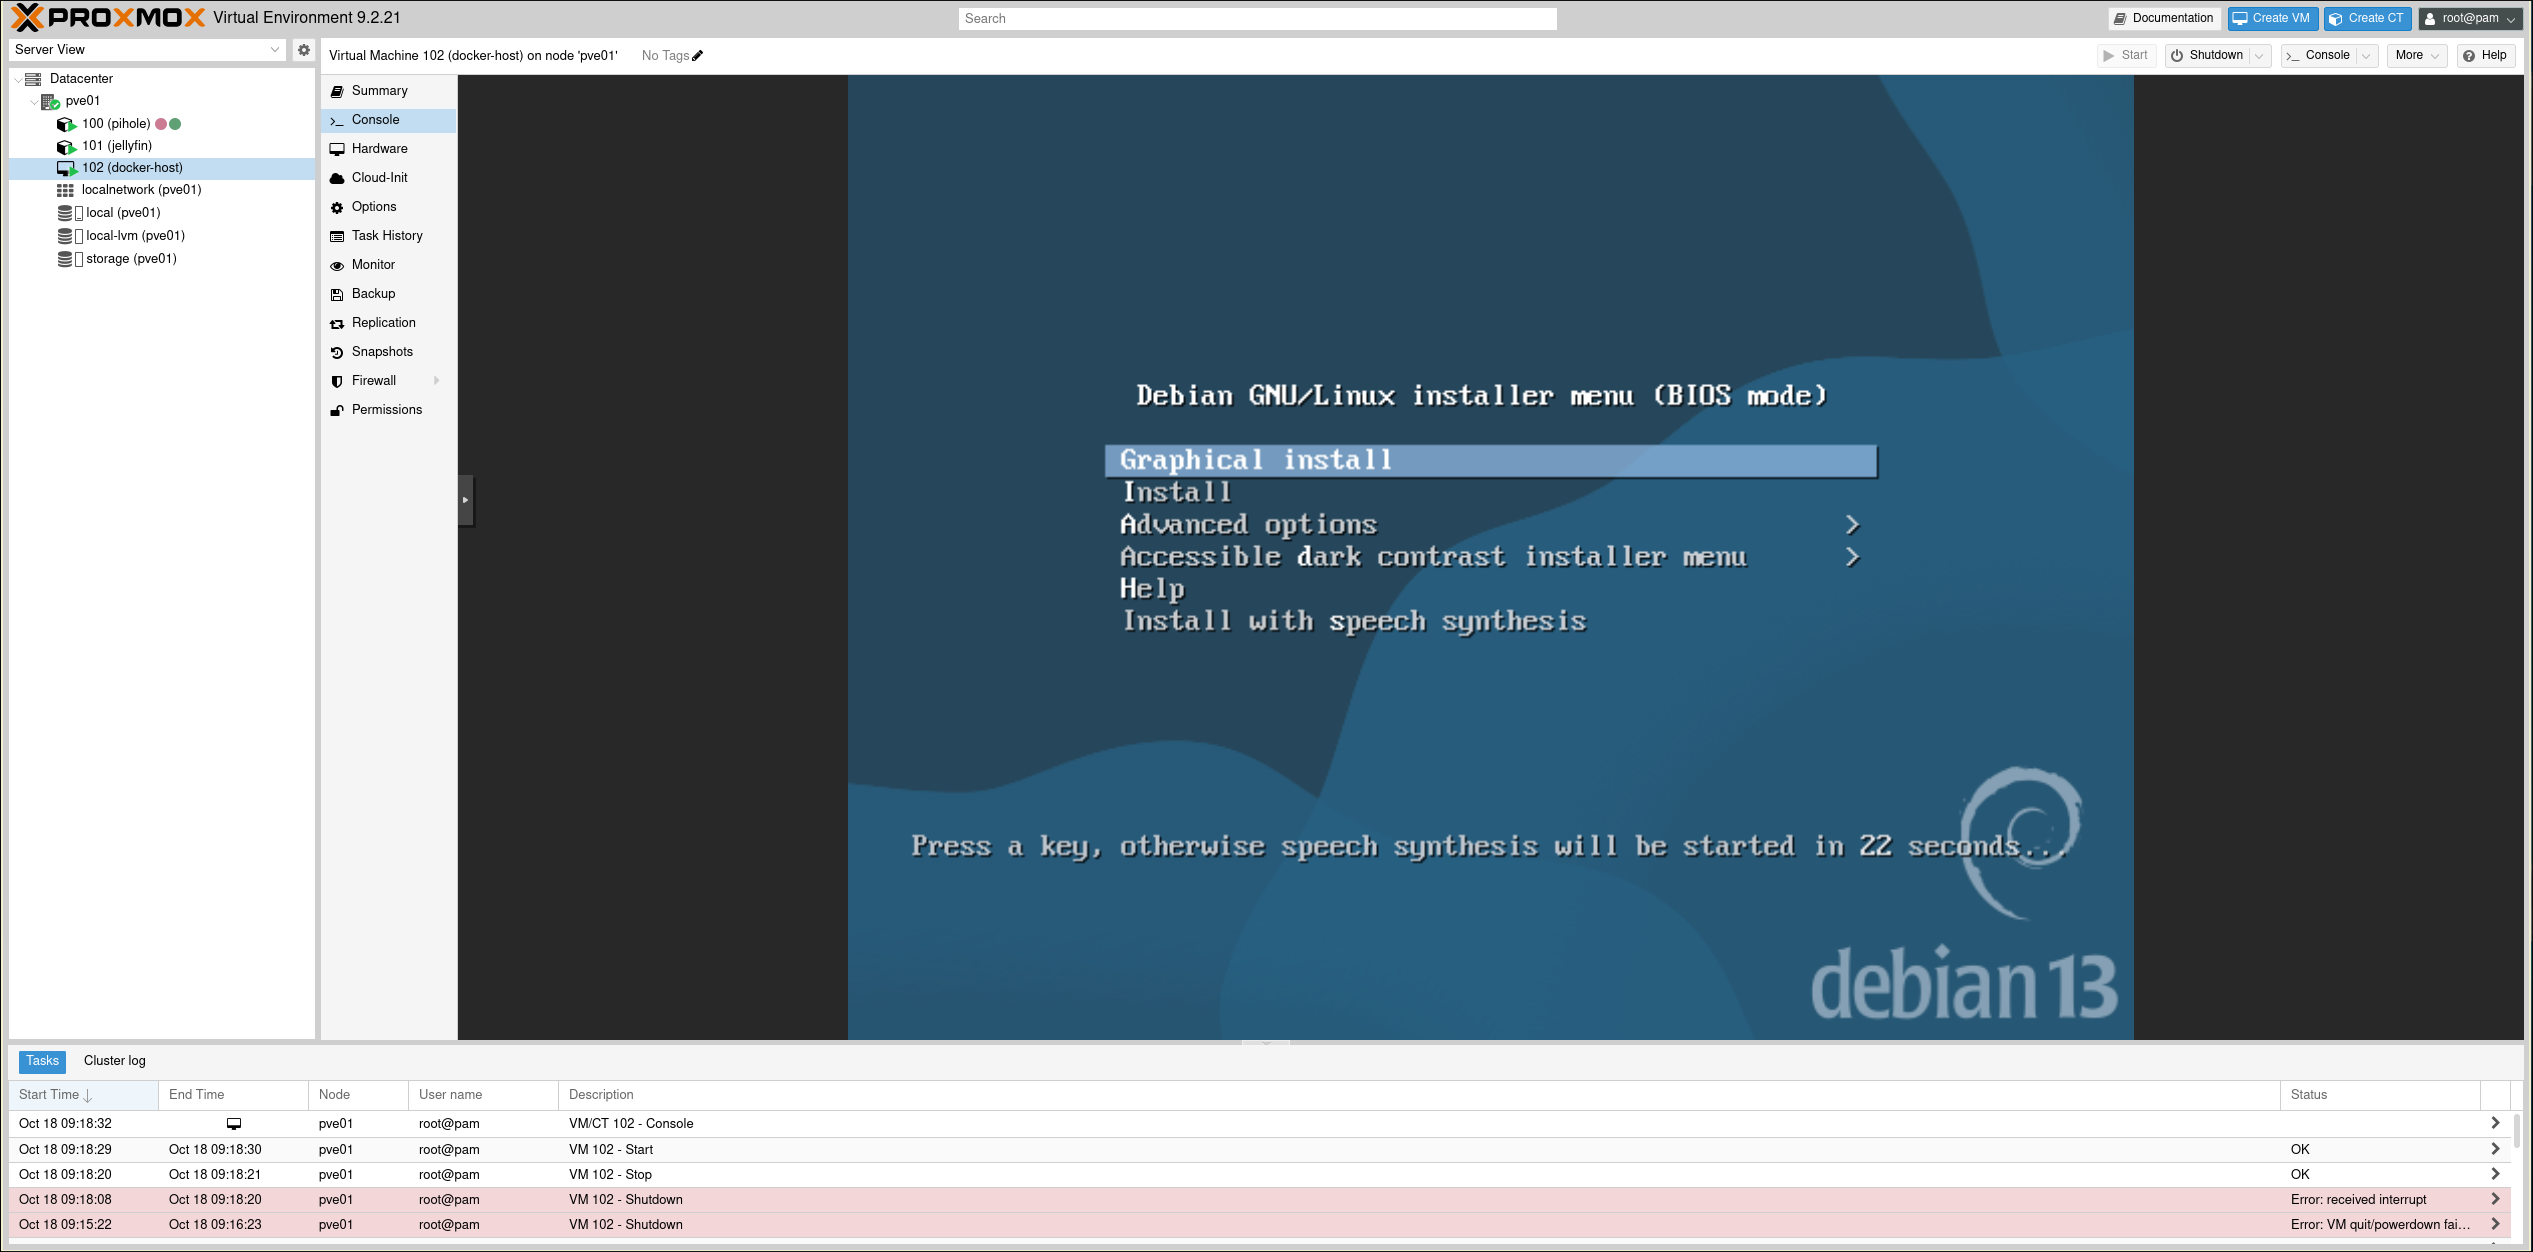
I had a lot of problems with using the Proxmox NoVNC console, since I am not using a default US keyboard, so the following commands are done by SSH‘ing into the VM. During the install, simply check the SSH Server box during the software selection screen.
To SSH into a machine, open a terminal and use the following syntax:
ssh <YOUR USER>@<YOUR VM IP>
Networking setup
In the OS setup you can usually chose to set the network settings. I recommend setting it to dhcp and reserving a static IP in your routers DHCPserver. The MAC address for that can be found in VM > Hardware > Network Device.
If you cannot chose to set your network interface to dhcp during the installation, here is how you do it manually in Debian:
Log into your VM and find the name of your virtual network interface. It will It will typically be named something like ens18, eth0, or enp0s3. Use this command to list all network interfaces:
ip addr show
Then open the network interfaces file with nano (or your favourite text editor):
sudo nano /etc/network/interfaces
Find the iface with the name of your interface make sure it is set to dhcp. My configuration for example looks like this:
allow-hotplug ens18
iface ens18 inet dhcp
Exit your SSH connection and login to the VM with the IP address reserved by the router.
Installing Docker
Now that the operating system is installed, the first step is as usual to update everything to the newest version:
apt update && apt upgrade -y
I will be following the official Docker install guide for debian, with some explanations as to what the individual commands are doing.
In preperation for the Docker install I need to prepare the necessary tools.
sudo apt install ca-certificates curl
Next create a secure directory for storing the GPG security keys used to verify software repositories (in my case the official Docker repository).
sudo install -m 0755 -d /etc/apt/keyrings
Now we will download the official Docker security (GPG) key into my newly created directory.
sudo curl -fsSL https://download.docker.com/linux/debian/gpg -o /etc/apt/keyrings/docker.asc
Then we will make the Docker GPG security key readable by all users on my system.
sudo chmod a+r /etc/apt/keyrings/docker.asc
Finally we will add the Docker sources to the apt sources. This command appends the following text until the EOF (End Of File) string
sudo tee /etc/apt/sources.list.d/docker.sources <<EOF
Types: deb
URIs: https://download.docker.com/linux/debian
Suites: $(. /etc/os-release && echo "$VERSION_CODENAME")
Components: stable
Architectures: $(dpkg --print-architecture)
Signed-By: /etc/apt/keyrings/docker.asc
EOF
So now our docker.sources looks like this:
docker-user@docker-host:~/immich-app$ cat /etc/apt/sources.list.d/docker.sources
Types: deb
URIs: https://download.docker.com/linux/debian
Suites: trixie
Components: stable
Architectures: amd64
Signed-By: /etc/apt/keyrings/docker.asc
Finally run a apt update so that the newly created sources get loaded by the package manager:
sudo apt update
Now we can install the actual docker packages:
sudo apt install docker-ce docker-ce-cli containerd.io docker-buildx-plugin docker-compose-plugin
Verify that docker is running by running systemctl status docker: 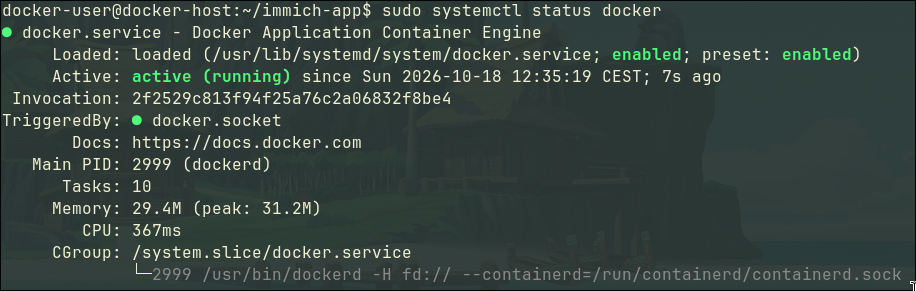
Also add your user to the docker group, so that you do not have to escalate privileges every time you want to run docker compose:
sudo usermod -aG docker <YOUR USER>
Exit out of SSH and back in, so that the change takes effect.
Now that we have docker running, we can finally move on the the last step:
Installing Immich
For this part I will be following the Quick start guide from the Immich docs.
The first step is to create a directory to hold my docker-compose.yml and .env files.
mkdir immich-app
cd immich-app/
Download the docker-compose.yml and example.env from the Immich github:
wget -O docker-compose.yml https://github.com/immich-app/immich/releases/latest/download/docker-compose.yml

wget -O .env https://github.com/immich-app/immich/releases/latest/download/example.env
Before configuring, create a directory to mount the storage “Hard Disk” to.
mkdir -p /mnt/immich-storage
Then permanently mount the storage “Hard Disk” to the created folder by editing your /etc/fstab file. This file contains static file system information, or simply put: What is mounted where.
First find the UUID of your Hard Disk with blkid. Then add the following line to the end of your /etc/fstab file:
UUID=<YOUR UUID> /mnt/immich-storage ext4 defaults,nofail 0 2
Now we can configure the .env file to set the upload location for our images, set the timezone and the DB password. Remember to actually change the DB password! Leaving the default Postgres password is a big security flaw in your homelab.
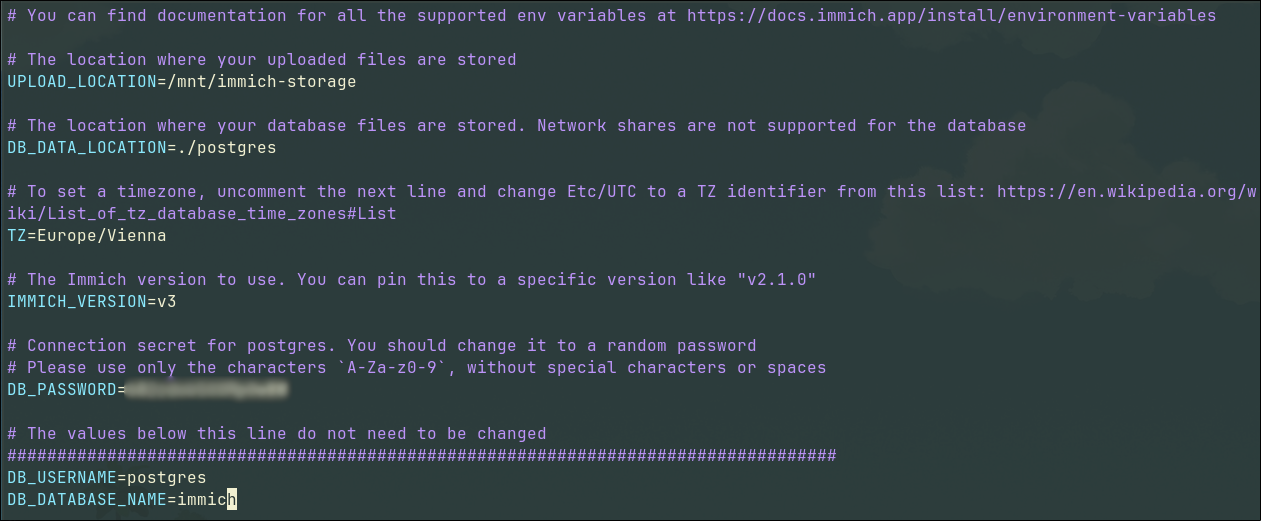
Finally we can start the Immich docker container:
docker compose up -d
It will pull all necessary containers from the internet and start them up. Now the app can be accessed at http://YOUR_VM_IP:2283
You will be greeted with the setup screen:

Add some Users for the people that want to use the app under Administration > Users > Create User and explore the rest of the settings.
You can now download Immich clients onto your devices and connect them to your server. Voila, a self-hosted photo backup and organisation solution.
Conclusion
My Fiancee has been happily using Immich to archive and organise all of our vacation photos and she is very happy so far. I am happy to finally rid myself of another piece of the Google cloud. Everyone wins!
The next project I want to realize is to set up a Raspberry Pi as my OpenVPN/WireGuard access point, so that I can access all of my installed services from anywhere in the world. Stay tuned!